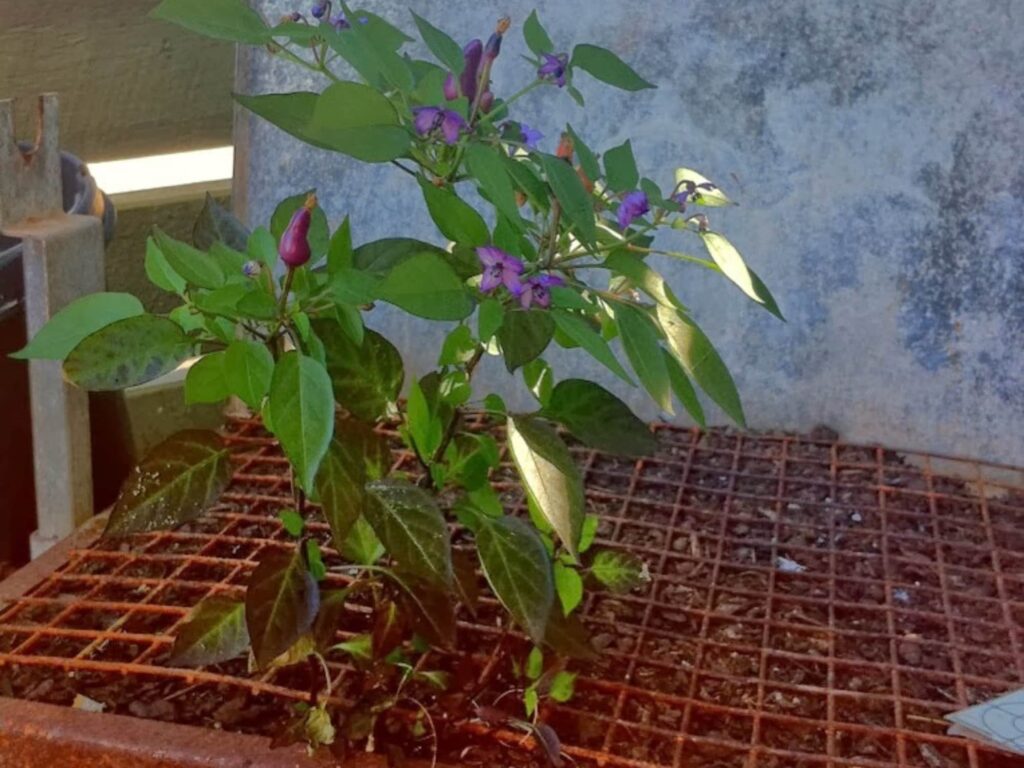
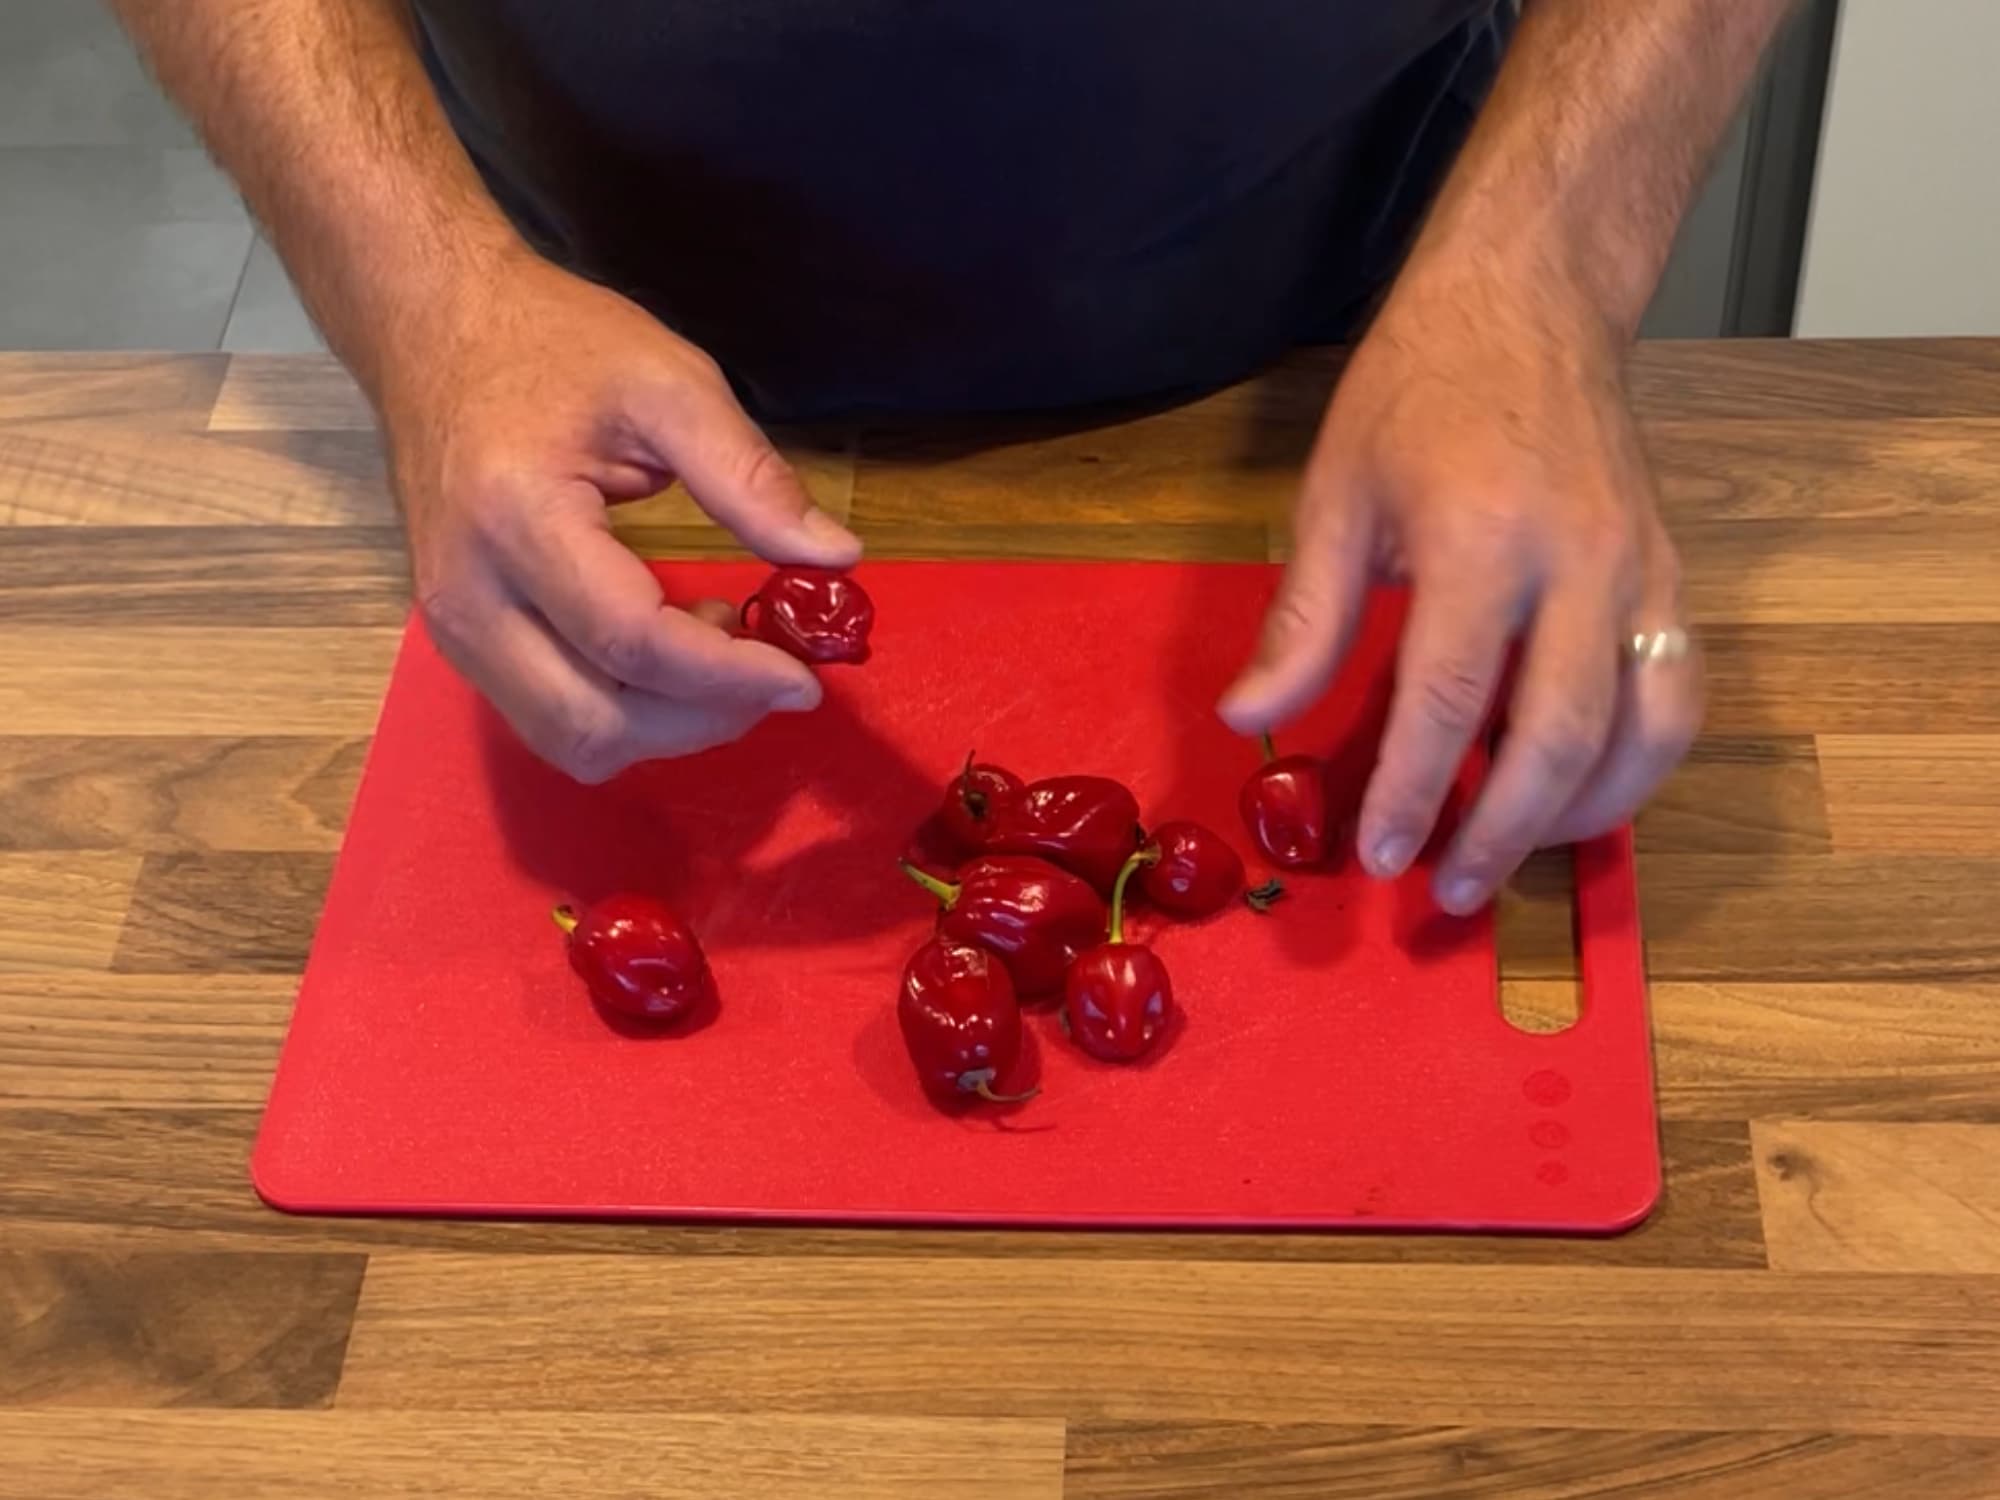
Harvesting chili seeds is very easy to do, and can be done on either store brought or homegrown chilies. This guide will explain things to consider before harvesting your own chili seeds and how to do it.
The things to consider and steps to harvest your own chili seeds are:
- Choosing the right chili plant.
- Timing the picking of the chilies so the seeds will more likely be viable.
- Steps on how to harvest the chili seeds and the hidden safety steps to avoid hurting yourself.
- How to prepare the seeds before storing them away, and
- The correct way to store the chili seeds until they are going to be planted again.
If you would like you can watch the below video to see me harvest some chili seeds, or you can read below for a far more detailed explanation of each of the above listed steps.
I find growing and turning my chilies into sauces and using them in my food to be very rewarding. Following this guide will give you the best shot at being able to enjoy the same feeling or nurturing a plant from seed to harvest.
Choosing the Right Chili Plant
You can either grab some chilis from your local supermarket to harvest some seeds from, or you can pick your own chilis from your homegrown plant. Things to consider when collecting chilies from your own chili plant are:
Healthy Plant Selection
You want to pick chilies from healthy plants.
Healthy plants will produce better quality seeds, which will end in having a higher number of viable seeds for you to grow in your garden, and healthier offspring.
Do not pick chilies to harvest the seeds from if the plant has signs of pests or disease. This may impact of the health of the offspring plant and reduce the germination rate of the seeds.
Ripeness
Do not pick the chilies before they are ripe. Wait until the chili is ripe before harvesting seeds from it.
The seeds from unripe chilies are less likely to be able to be successfully used to grow more chili plants.
To help you assess if a chili is ripe, keep the following in mind:
- Color: Is the chili the correct color? It should match the final color for the chili variety.
- Texture: Chilis have a firm texture and appearance. If the chili looks wrinkly and a bit off, then avoid using it.
- Time: The amount of time it takes for different varieties of chilies to grow varies, but you shouldn’t be picking them before 60 to 90 days.
If you select the optimal chili (following the above) then you will more likely successfully grow your own chili plant with your seeds.
Harvesting Chilli Seeds
Now that you know how to identify the ideal chili plant and the ideal chilies, lets pick your chilies and harvest the seeds from them.
How to harvest and store chili seeds
-
Cut open the chili
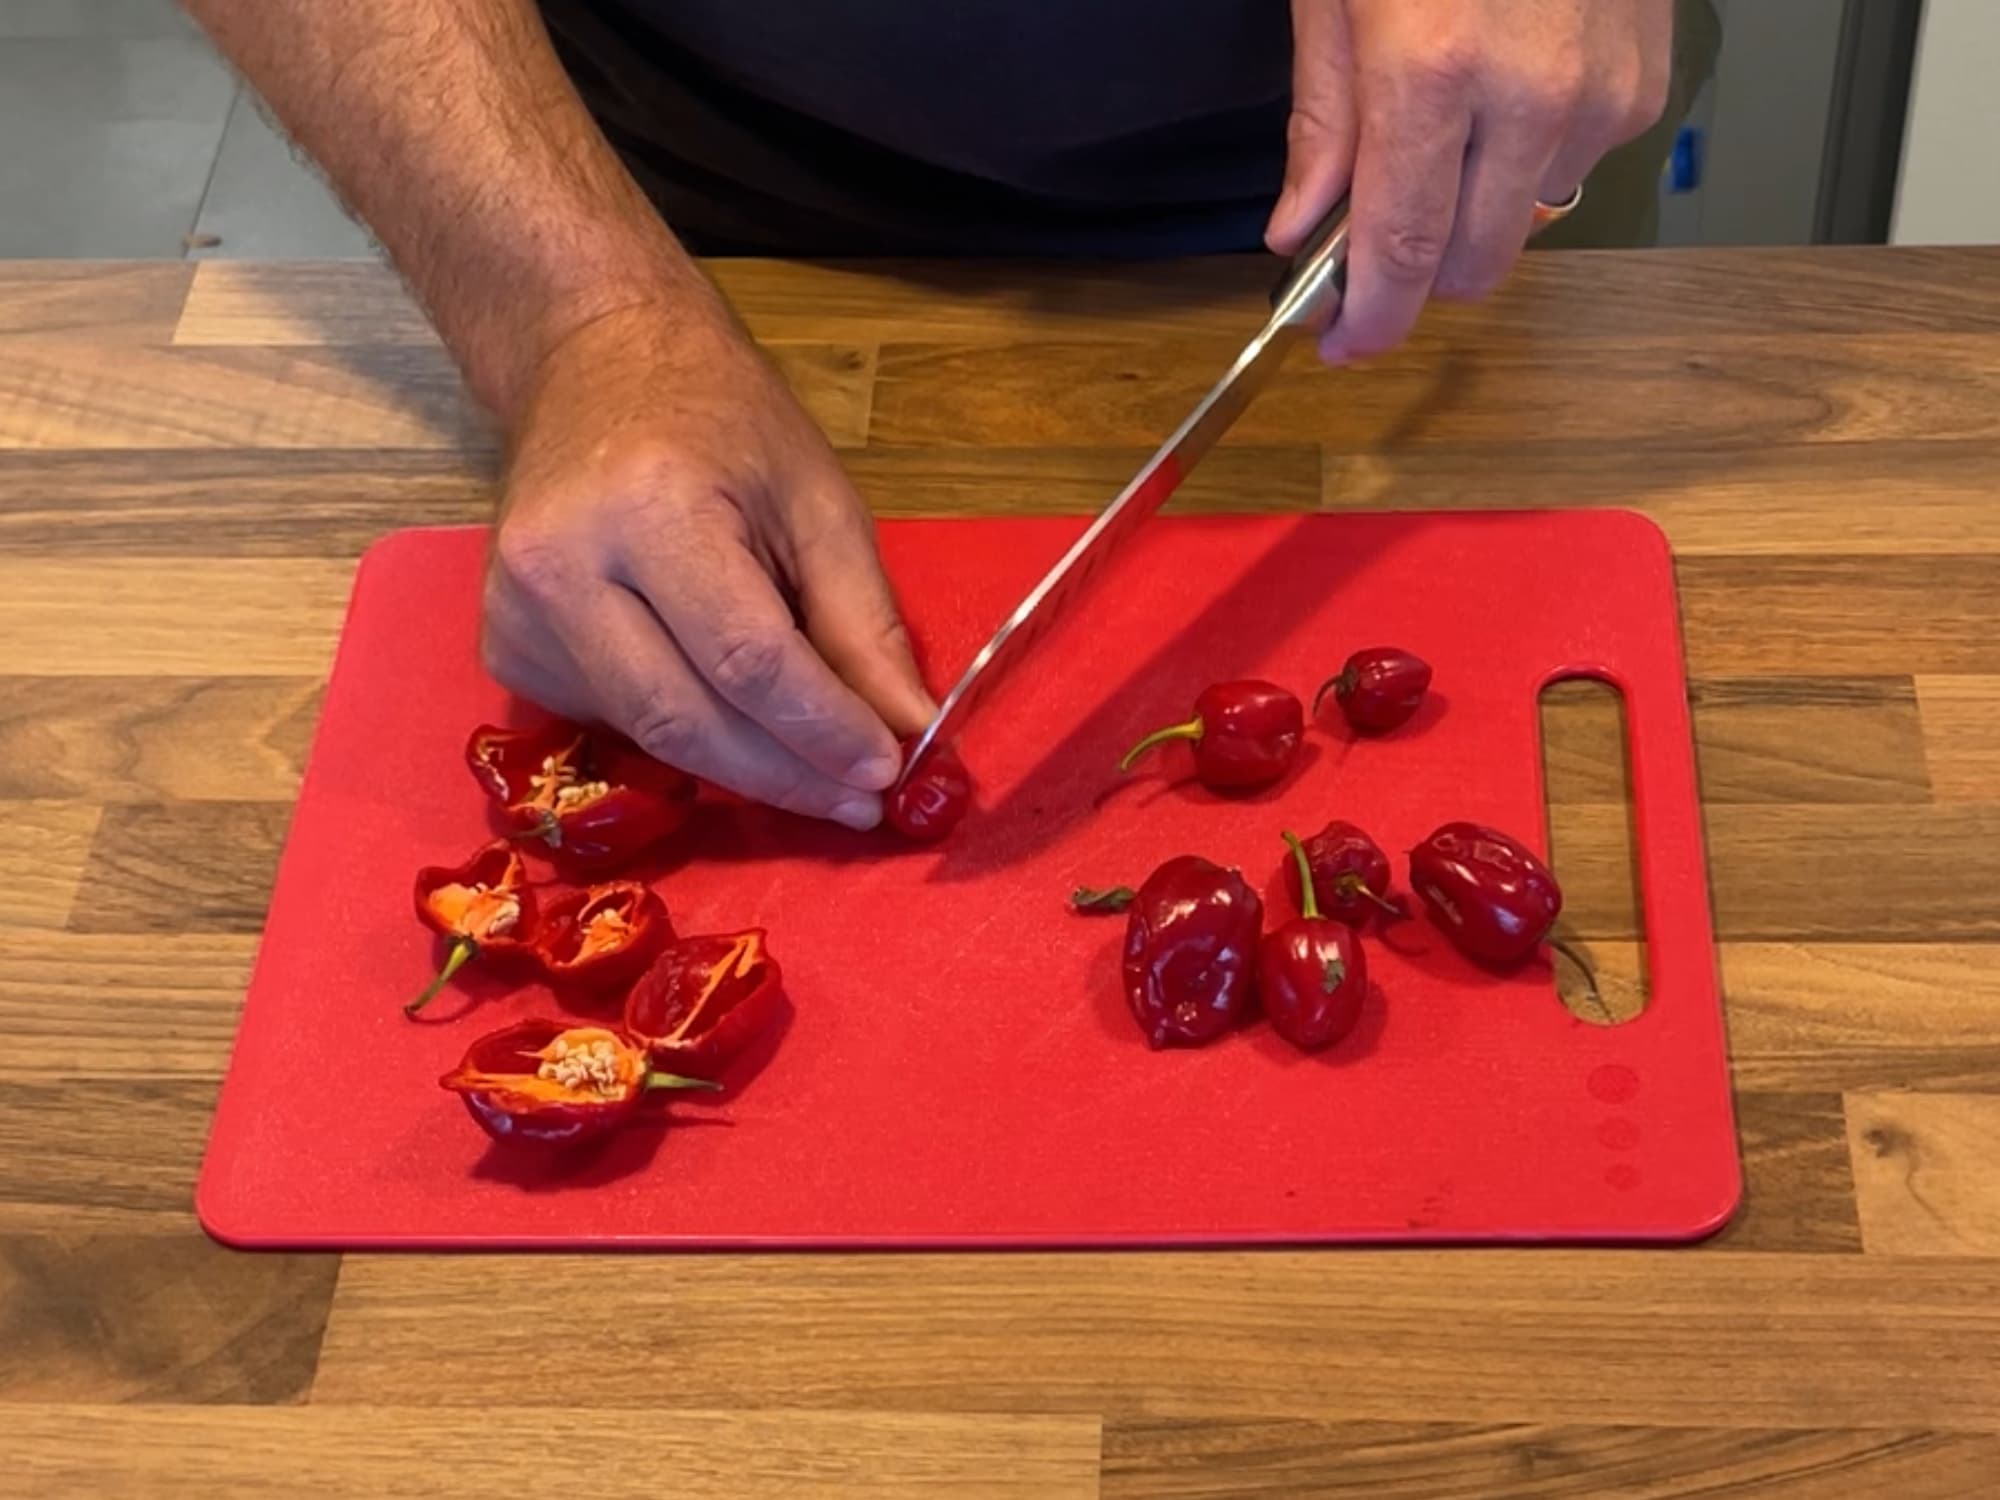
Using a sharp and clean knife (or scissors), cut the chilies in half.
I would recommend wearing safety glasses and rubber gloves to prevent accidentally rubbing the chemical capsaicin in your eyes or on your skin. Capsaicin is the chemical that causes a burning sensation that is found in all Capsicum genus.
-
Remove the seeds
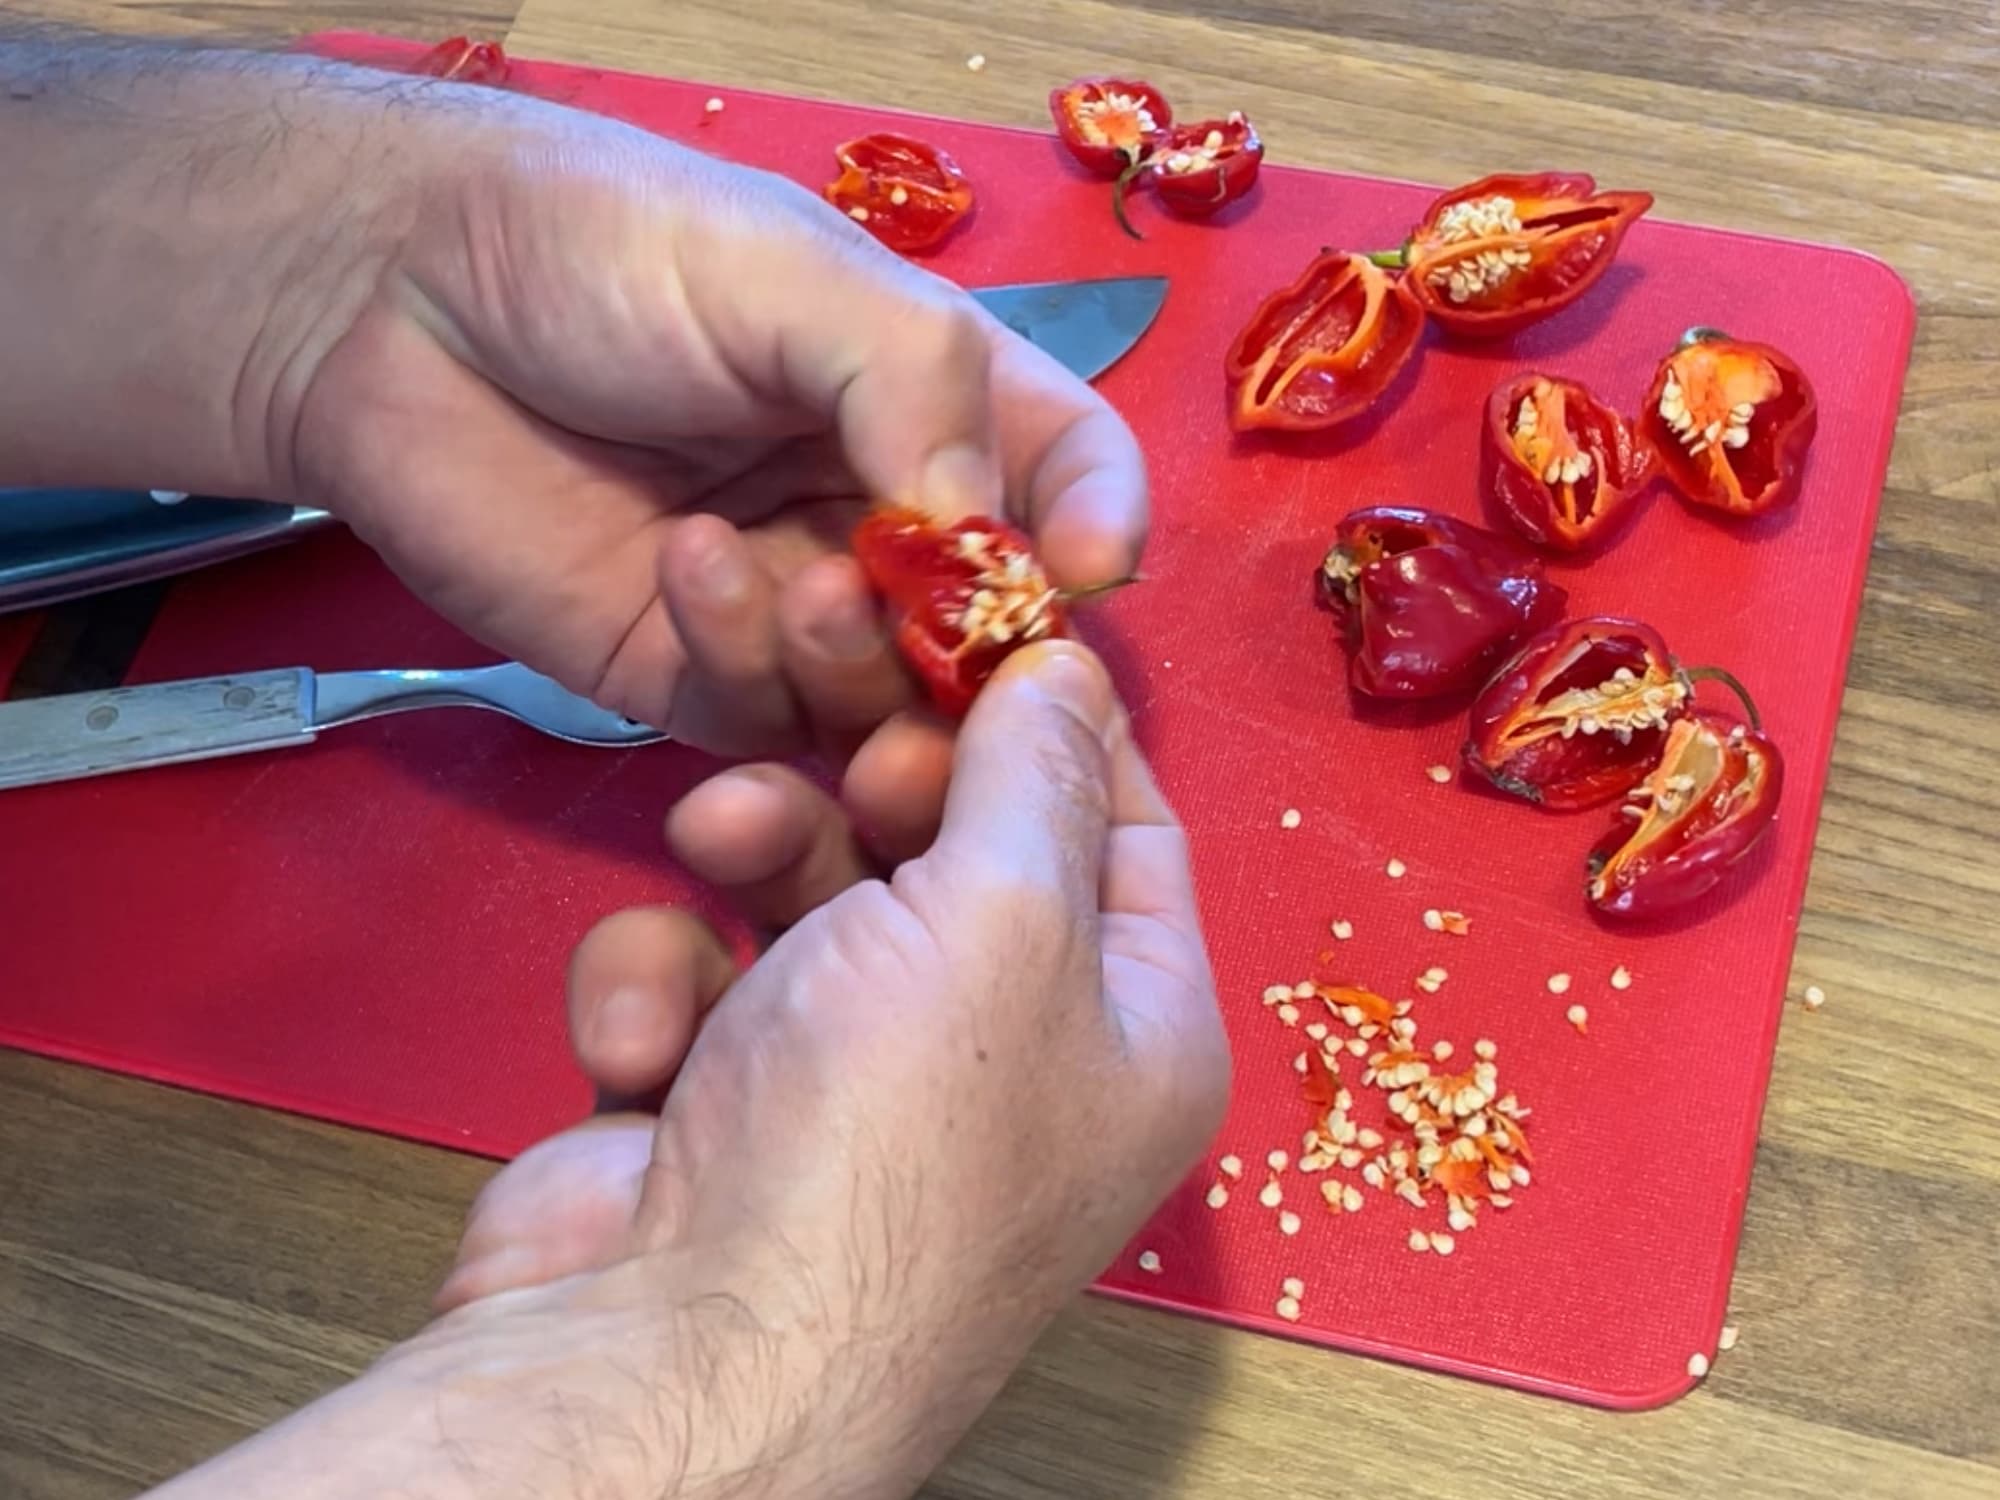
Using either a knife, fork or your fingers, remove the chili seeds from the chili.
-
Prepare the seeds for storage
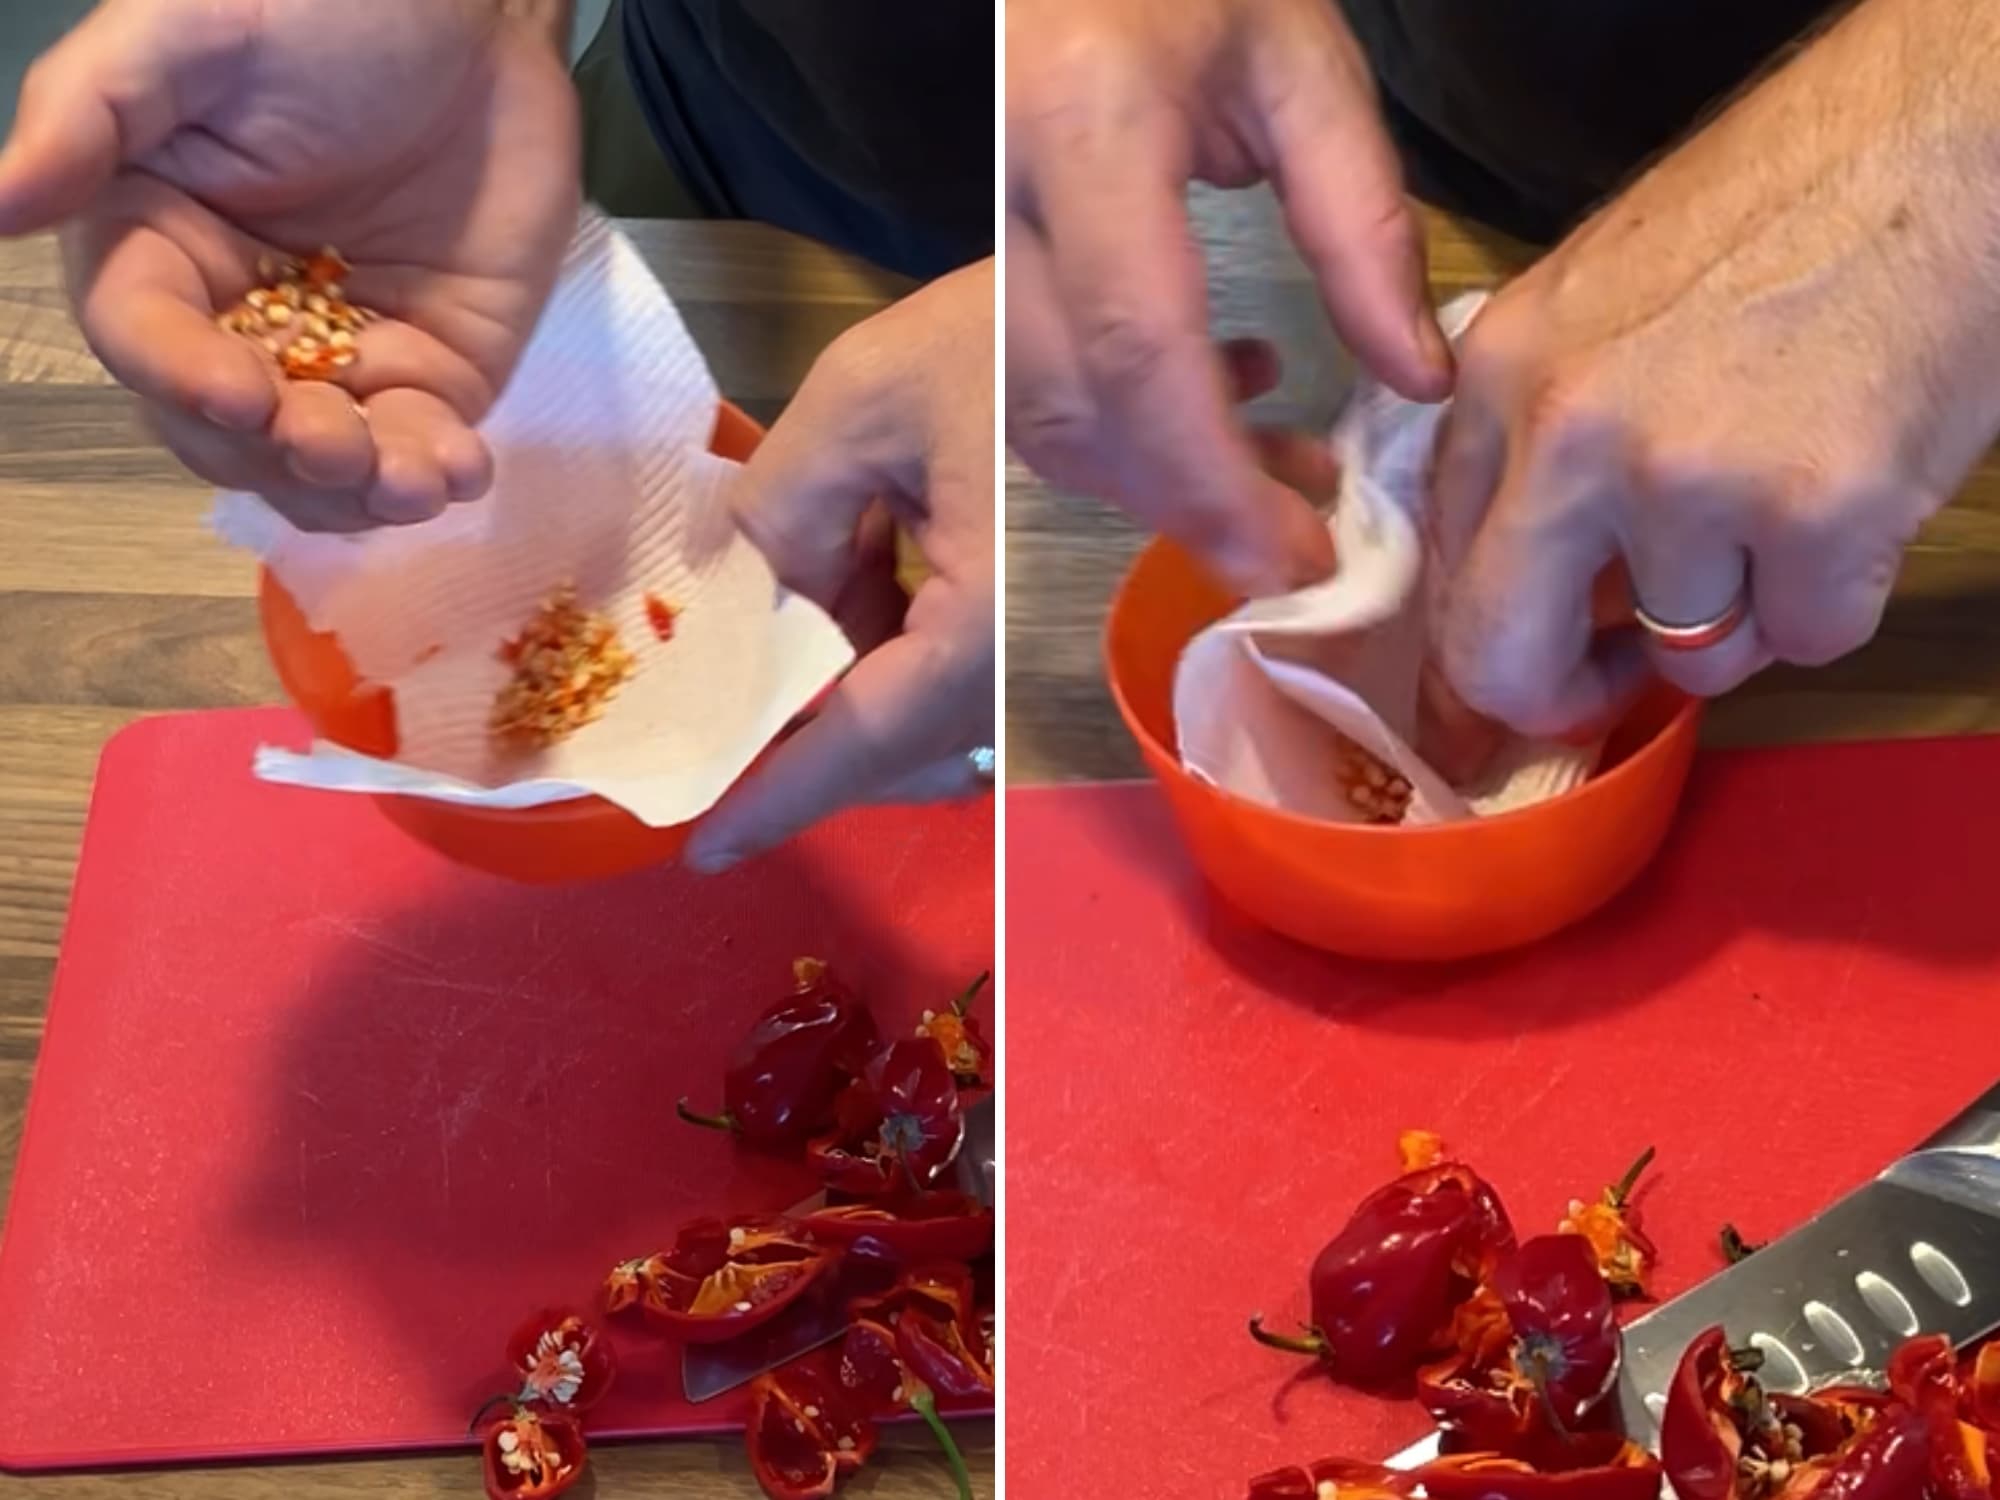
To prepare the chili seeds for storage, they first need to be dried out. To do this, place the chili seeds on a paper town and fold the paper towel over the seeds.
Then place the seeds somewhere warm, dry, and out of direct sunlight (on a bench or in your pantry are options).
If you didn’t have any paper towels, just put the seeds in a bowl and place them in a warm and dry area.
Leave the seeds for at least 7 days. Once the seeds feel hard, and cannot be bent, they are ready to be stored.
-
Store the seeds

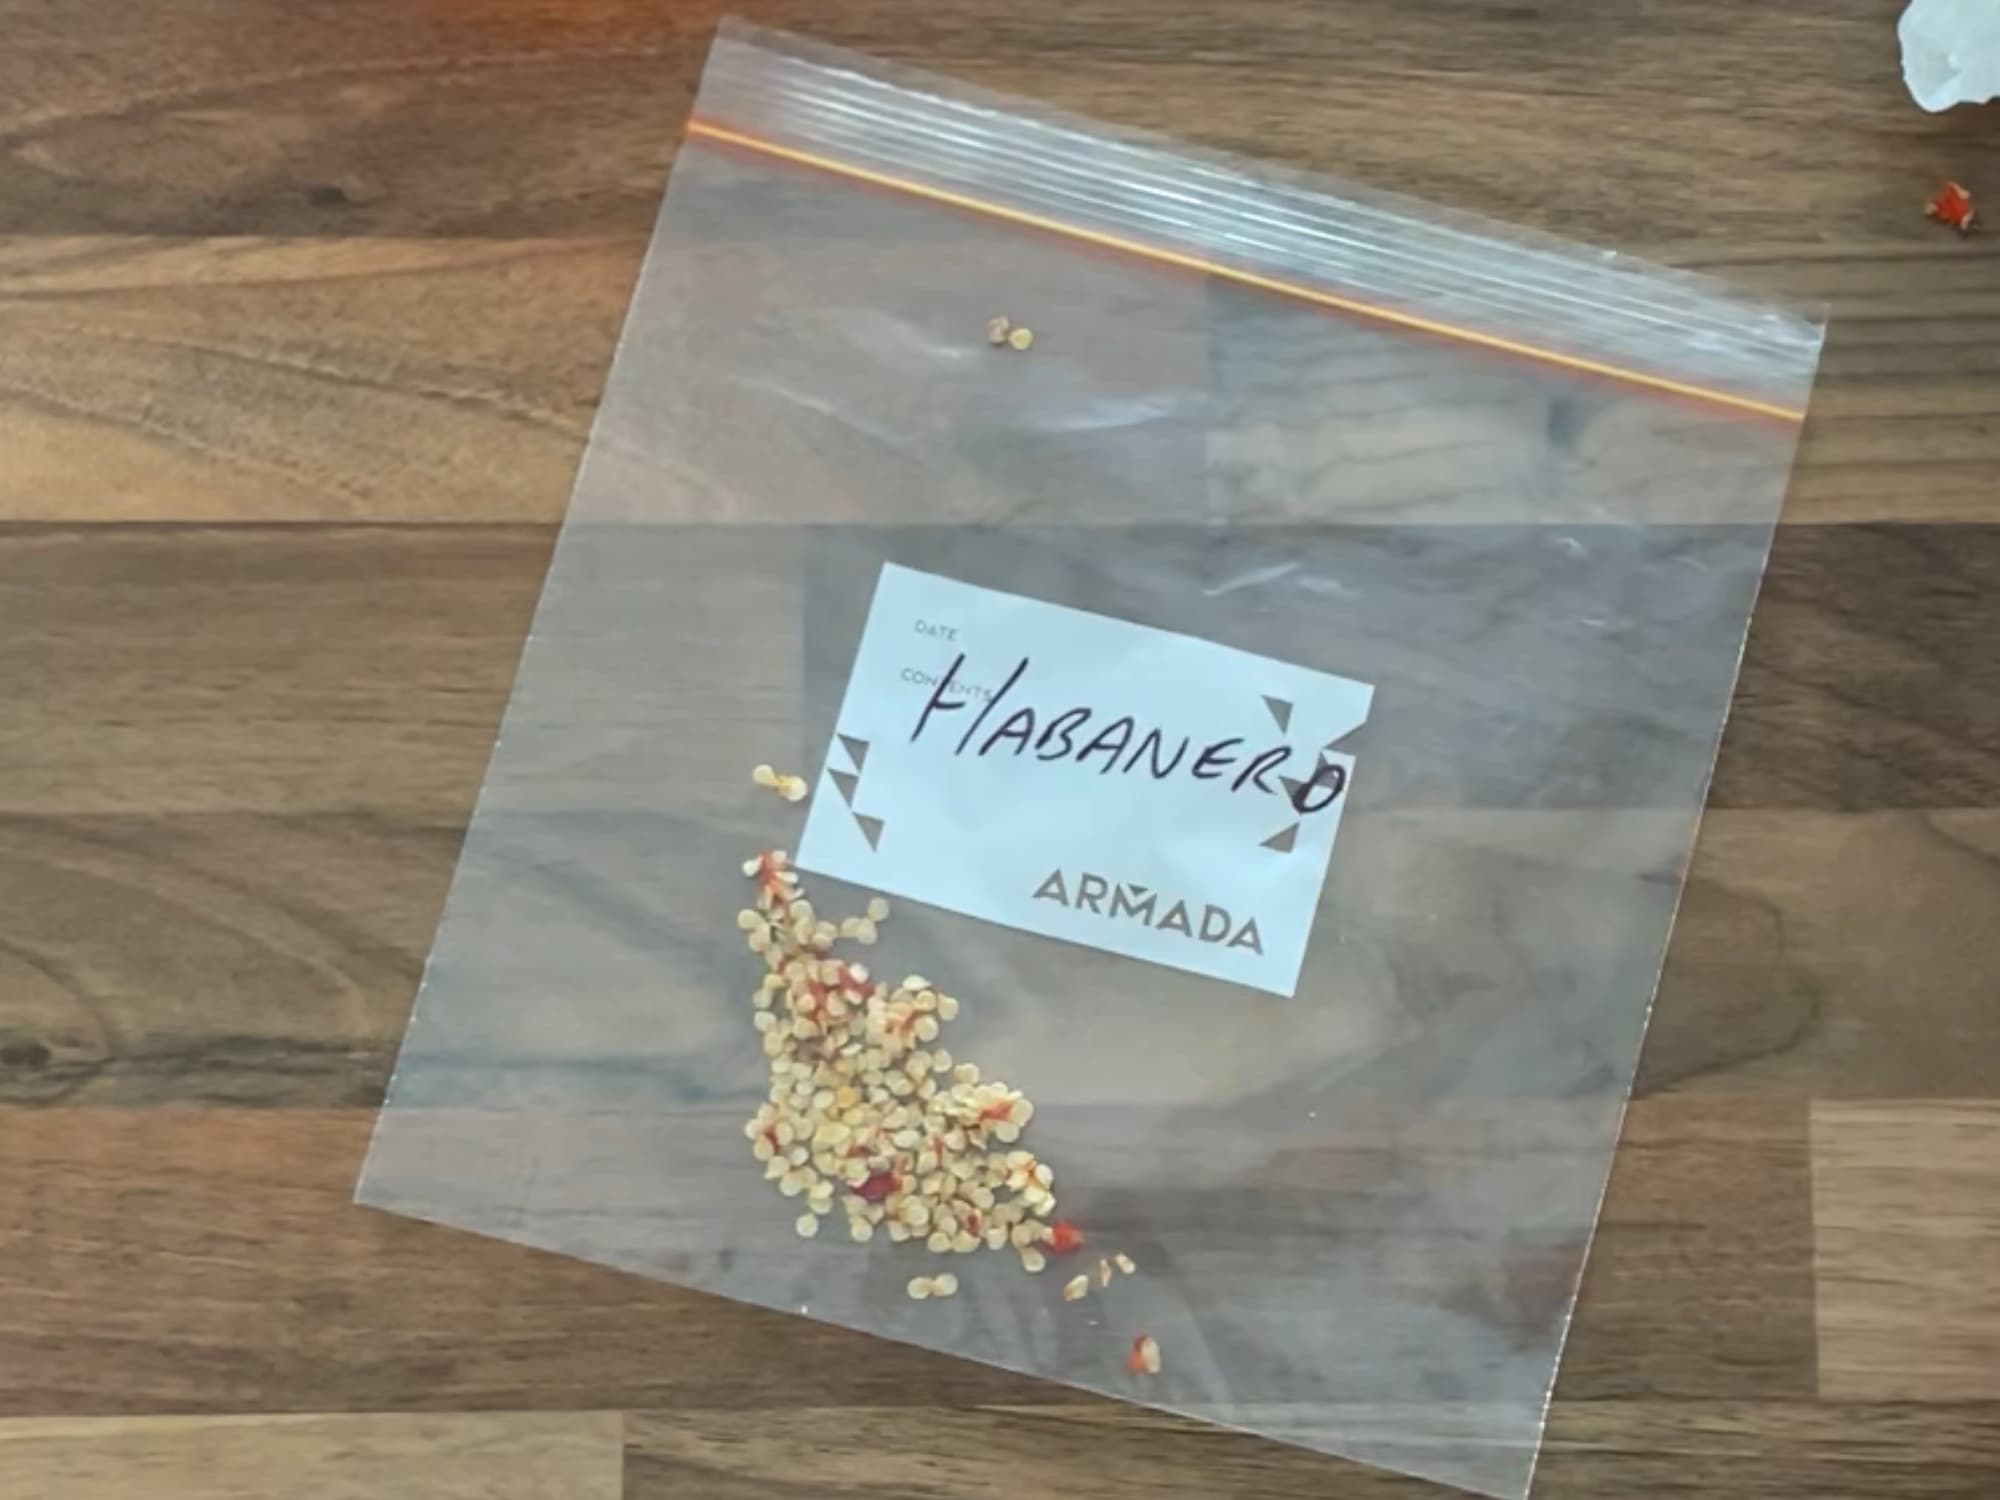
To store the seeds, open the paper towel holding the seeds and tip them into a zip lock bag.
Store the seeds in a box that is away from direct sunlight and moisture.
Apparently, chili seeds can remain viable for up to 2 years, but I have not tested that [source].
Supply:
- Chilies
Tools:
- Safety glasses
- Rubber disposable gloves
- Sharp kitchen knife (or scissors)
- Cutting board
- Paper towels
- Zip lock bag
Storing Chili Seeds
Storage Containers
The ideal container to store chili seeds is anything that is:
- Clean
- Dry
- Airtight
When storing the seeds you can use either air-tight containers or zip-lock bags. Just make sure whatever container you use that it’s properly sealed.
Don’t forget to write the date or storage and the type of seeds on the packet before you forget.
Storage Conditions
The ideal chili seed storage condition is for it to be out of direct light, in the dark, and away from moisture.
Germinating Chilli Seeds
When the time comes to plant some more chili seeds to grow more chili seeds, do the following to give your seeds the best chance of success. I will explain the steps to grow a chili plant directly in the soil.
- Fill a pot with soil. Make sure the soil used has good drainage properties.
- Place the seeds into the garden bed or pot/s, leaving a gap of at least 200 millimeters between each seed, or planting them into individual pots.
- Water the seeds frequently (every 2 to 3 days) and there should be signs of your chili plant growing within 7 to 14 days.
- If you need to, transplant the chili plant into a larger pot as soon as you can. The more established the plant it the more of a fit it will have if you transplant it.
