There are three different methods you can use to propagate a Philodendron Birkin:
- The division method (with a Birkin pup),
- From a Birkin stem cutting, and
- Air layering.
By far the easiest method and the method that gives you the best chance of success is the division method. I go into detail on how I propagate the Philodendron Birkin plant using the division method in the video and blog post below.
Propagate Philodendron Birkin (Division Method)
-
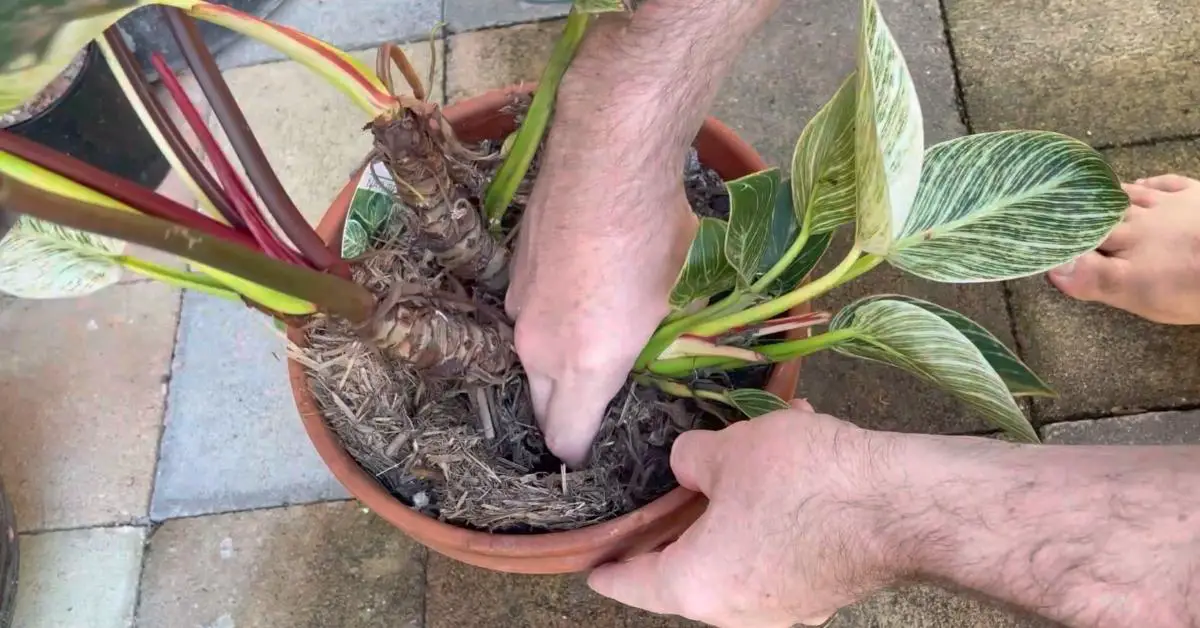
Identify a pup to divide
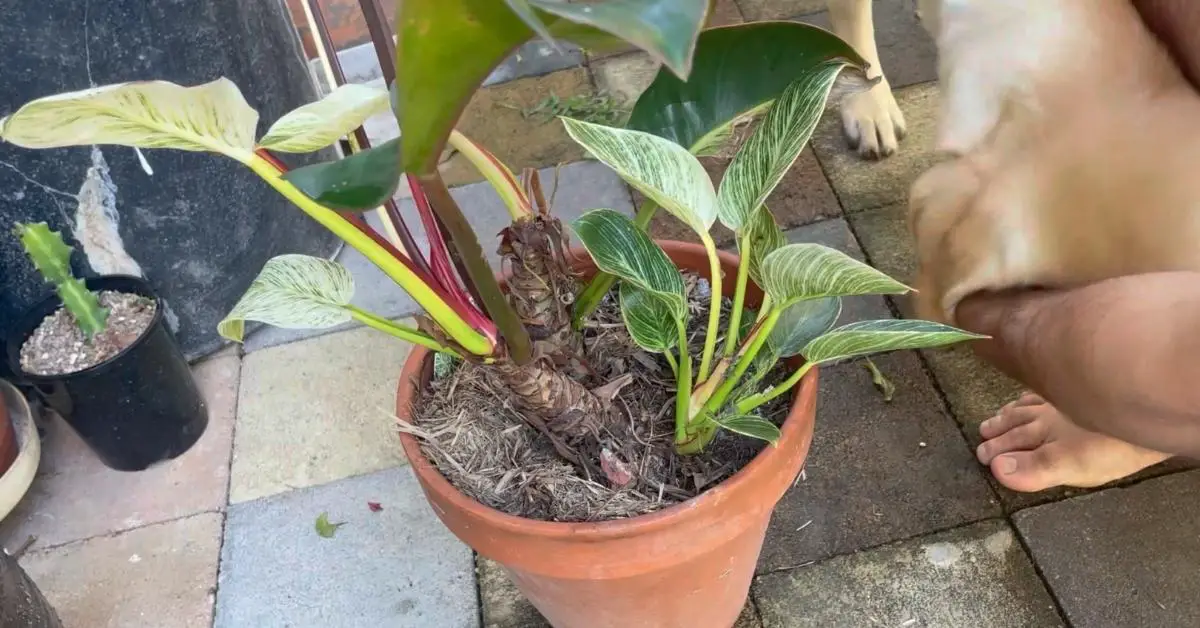
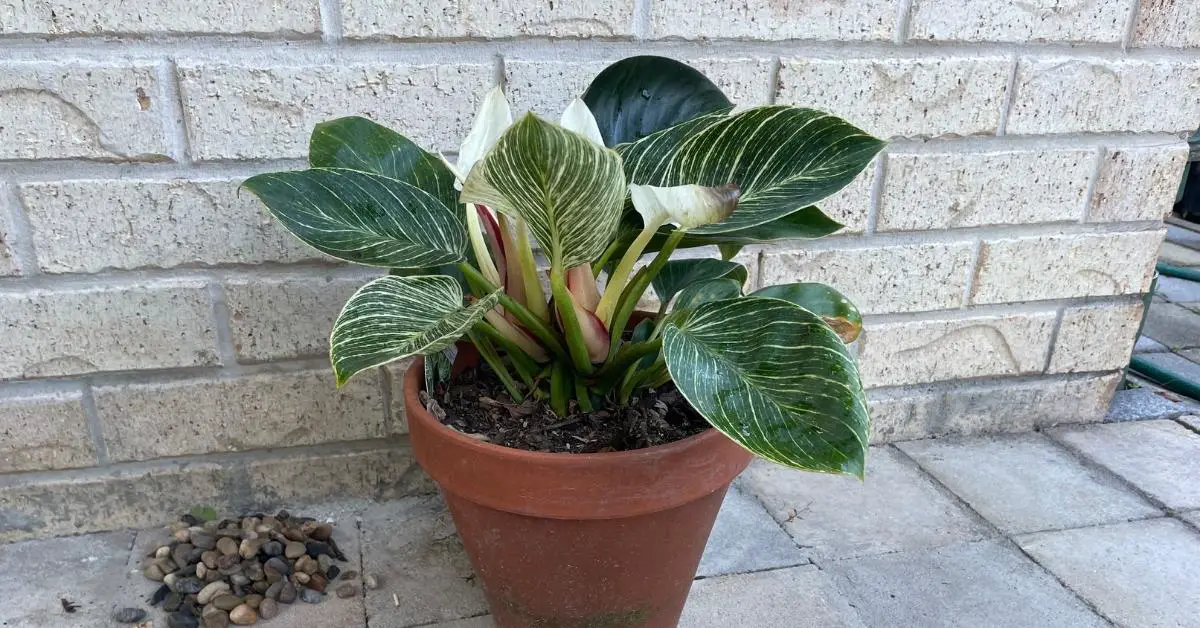
As the Philodendron Birkin grows it will start to put out shoots underground, which will sprout new Birkin “pups”. These pups can be divided from the main plant and propagated to grow a whole new Philodendron Birkin plant.
So you will first need to have a Birkin plant that is growing a pup to do the division method of propagation. If you have a pup on an existing plant then you can follow the remaining steps.
Things to check before cutting the pup away from the main plant are:
– Do it have roots growing from it (they might be above and/or below the dirt)?
– Is it mature enough that it is likely to survive being propagated?If you answered yes to both questions then carry on.
-
Cut the Birkin pup stem
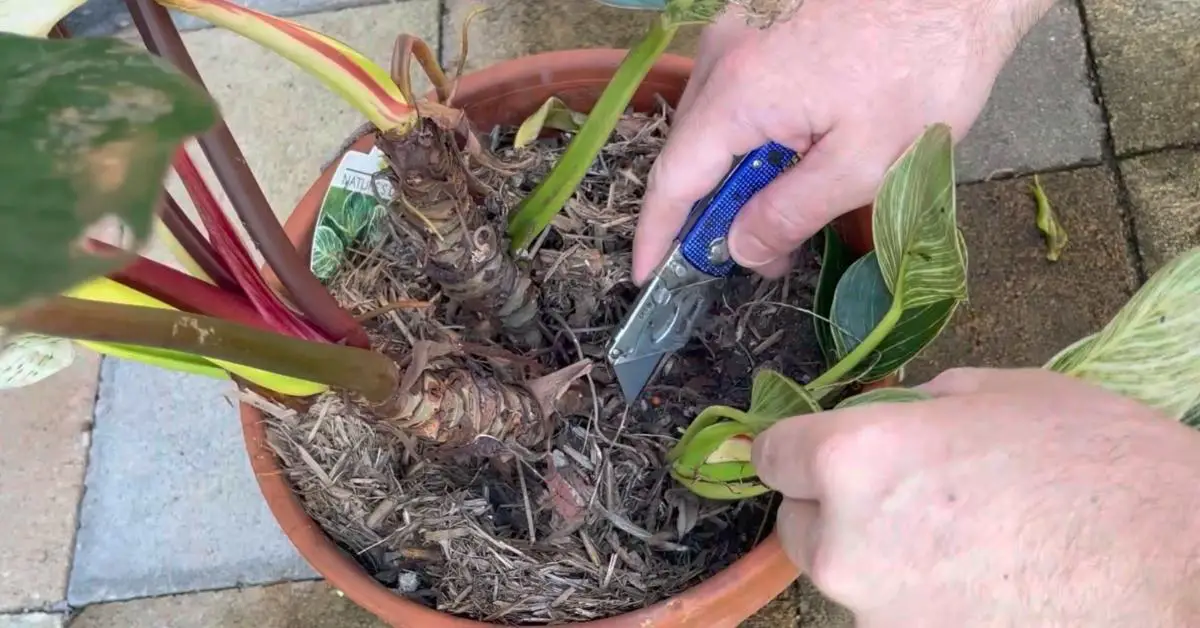
Using a sharp knife or a pair of secateurs, cut the Birkin stem away from the original plant. There will still roots that will be holding the pup in the pot, so don’t just start ripping it out otherwise you might damage and remove the roots totally.
-
Gently tease the roots out
Using your hand, gently start digging and loosening the soil around the roots of the Birkin pup. Try and save as many roots as you can, it would be impossible to do this without breaking one or two.
If the Birkin is in a put you could also just de-pot the plant which will be a much safer way to remove the pup.
-
Pup removed
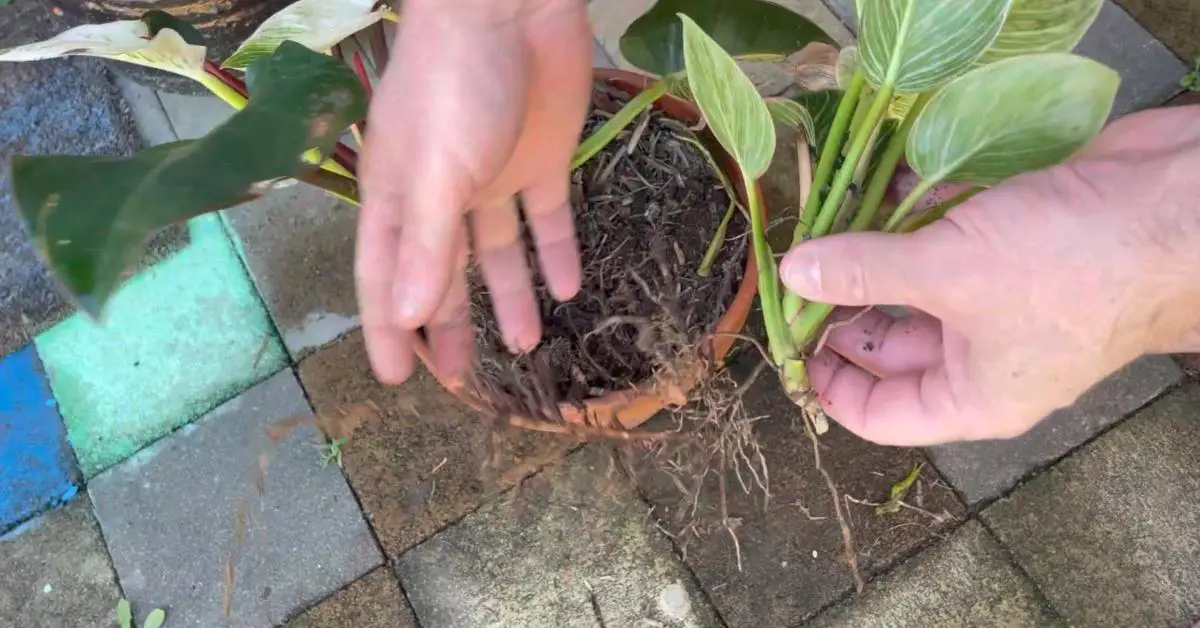
Once the Birkin pup is removed, check it over to see if there are any damaged roots that need to be trimmed off.
-
Remove excess roots
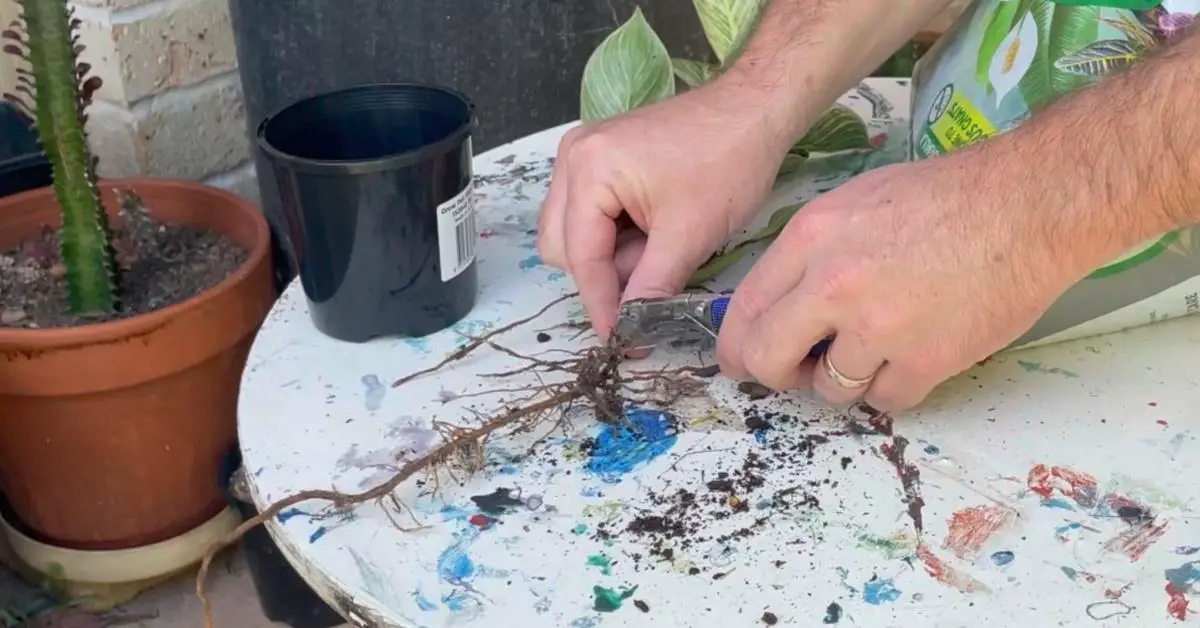
The roots are a little bit too long for my pot and what I want to do with the Birkin plant, so in this case I’m going to trim the long roots down to something shorter.
-
Pot the Philodendron Birkin plant
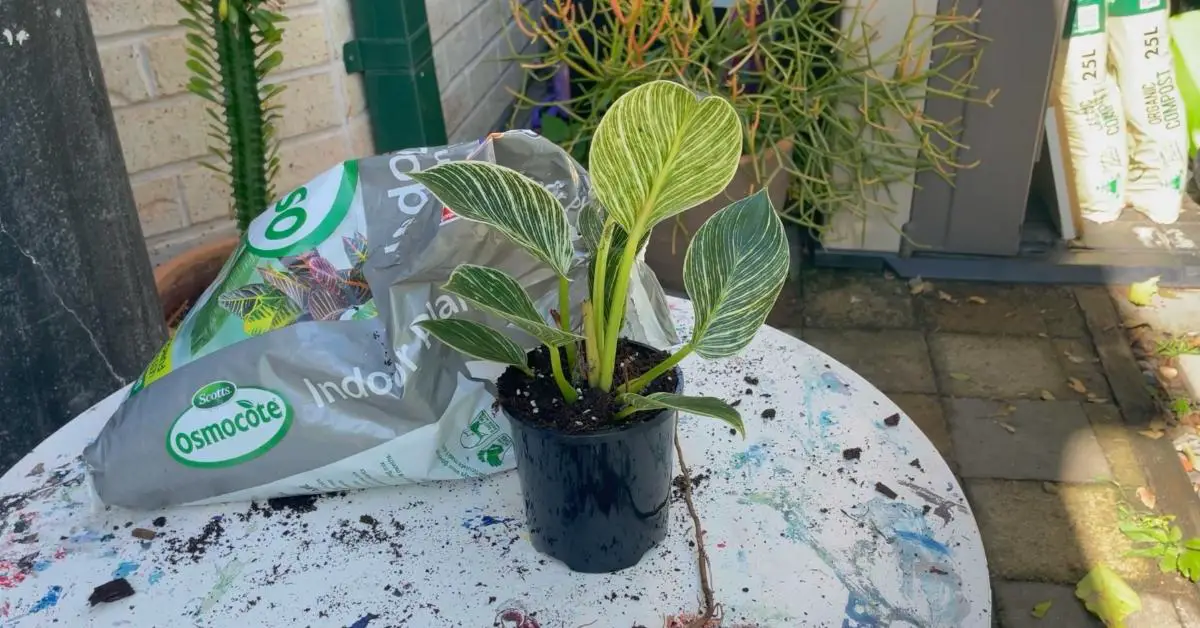
Plant the Birkin pup in a pot using almost any type of soil. I used indoor potting mix in this case.
Now because of the cuts that have been made on the plant stem and roots, I won’t water this plant for 7 days until the cut ends have time to heal over. If you don’t wait, there is an increased chance that your Birkin cutting will end up rotting.
-
Philodendron Birkin Cutting Care
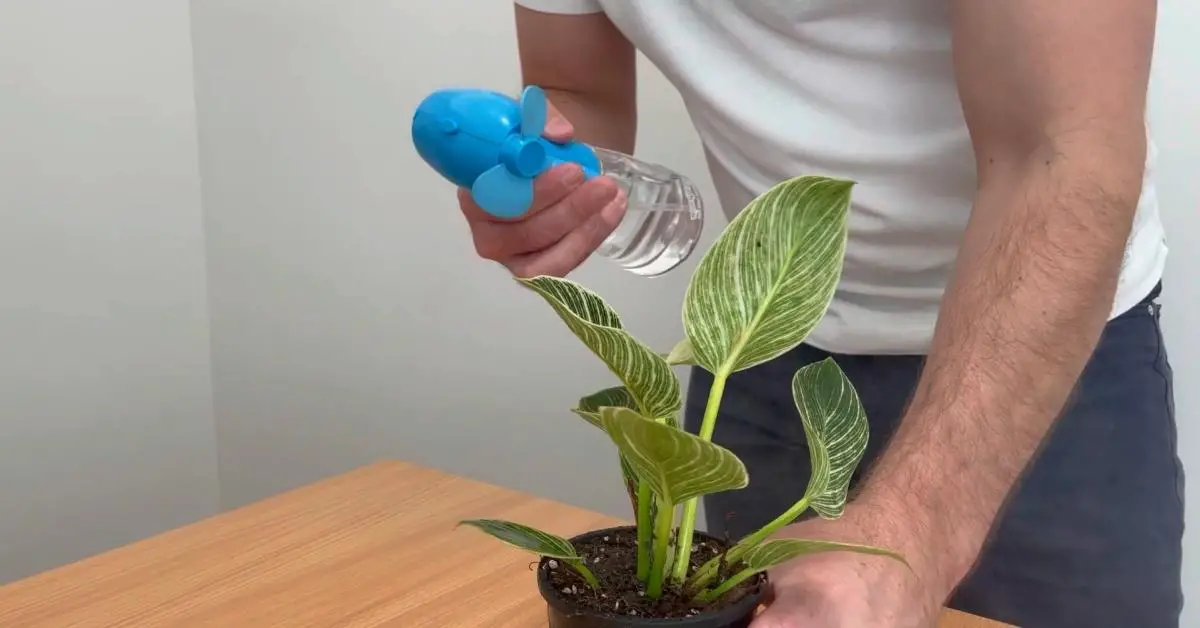
Because I’m going to wait 7 days before I can water the Birkin pup, I will mist the leave on day 2 and 5 just to make sure the plant doesn’t dry out.
I am also keeping the Birkin cutting out of direct sunlight, and it is receiving around 8 hours of indirect sunlight per day.
-
Watering the Philodendron Birkin cutting
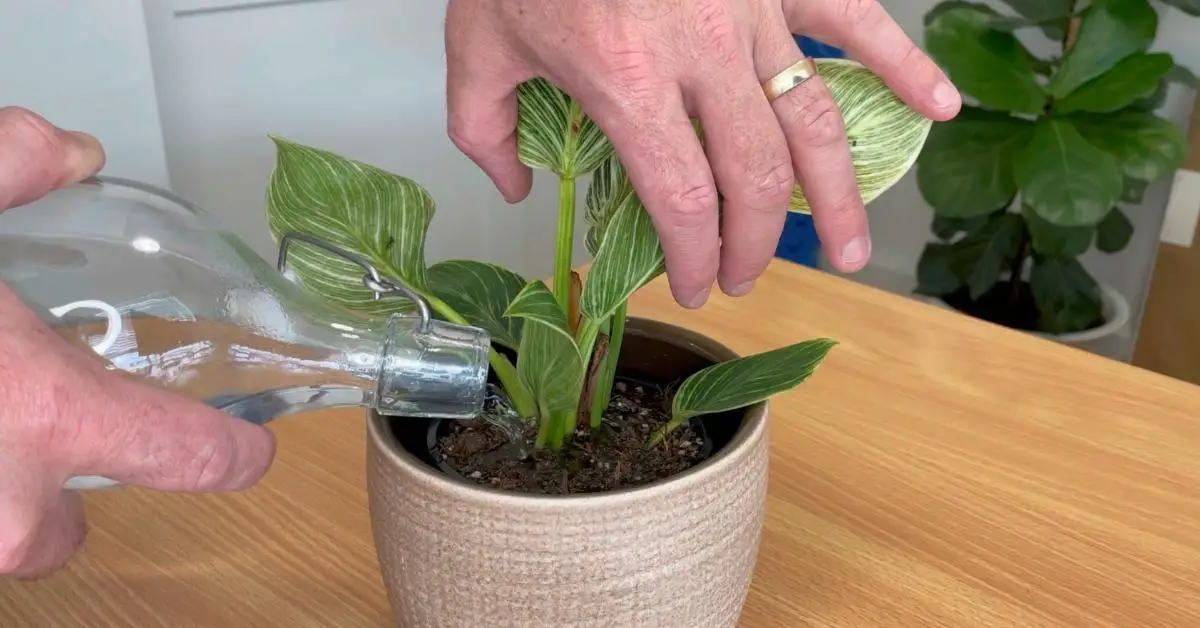
After 7 days of waiting, you can now water your Birkin pup. The cuts to the stem and roots should now be healed up and shouldn’t rot.
Be sure to give a very through water of the cutting, but drain away any excess water that drains to the bottom of the pot.
If you want you could also try the bottom watering method where you just fill up the bottom half of the pot and let the water soak upwards through the soil, then once again you remove any excess water from the pot once done.
Tools:
- Utility knife
- Secateurs
Materials: Potting mix Grow pot
Final thoughts
If you followed my steps above, then like me you should have a new Philodendron Birkin plant to decorate your house or office space.
I hope you have found my guide to be useful and I wish you all the best luck in your gardening.
