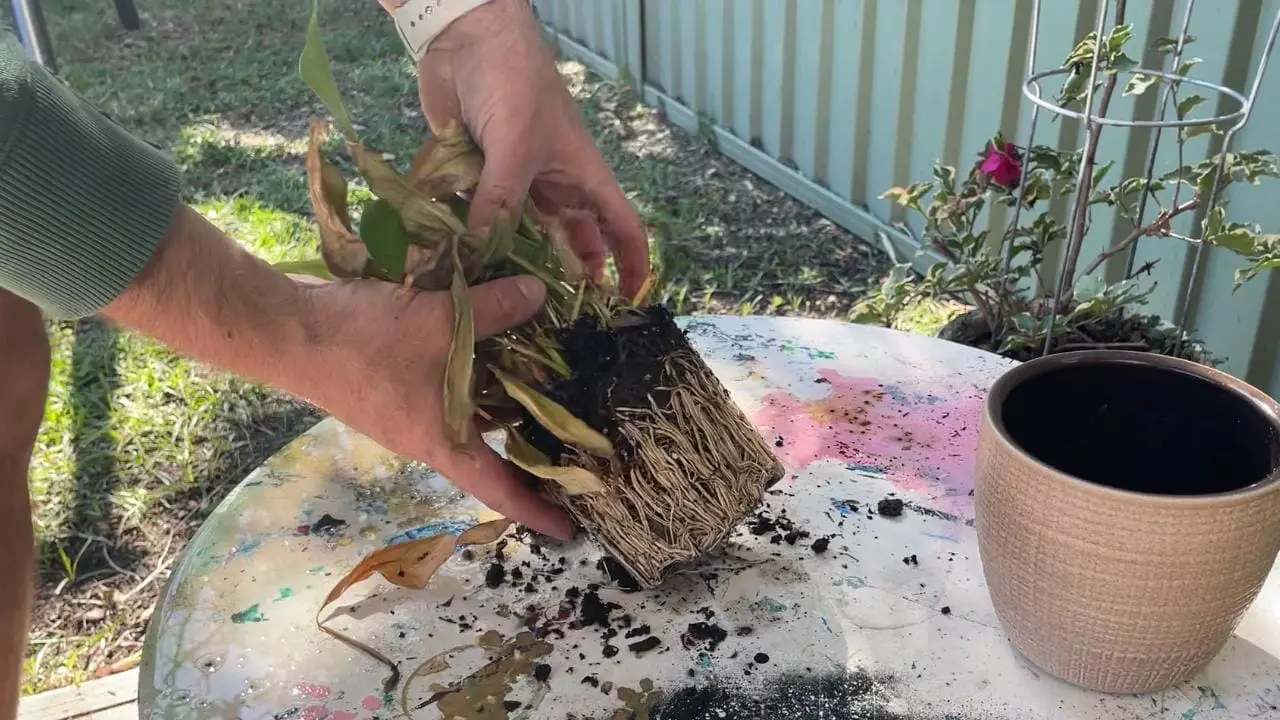
Peace lilies are a very common indoor plant for the office or home. Given that they can spend a long time living in pots, it is unavoidable that they will become root-bound eventually.
Knowing how to identify and fix a root-bound plant is key to maintaining the health of your peace lily.
Key Takeaways
- Identify the signs of a root-bound peace lily, such as (1) brown leaves, (2) slow growth, (3) not flowering.
- Root-bound plants have issues absorbing water and nutrients properly.
- Consider upsizing the pot when it outgrows the smaller pot.
- Separate the peace lily roots and shoots by pulling apart the root system with your hands.
- Ensure the plant shoots are cared for after re-potting until they are properly established.
You can watch my video below on how I fixed and took care of my root-bound peace lily, or continue reading below for a detailed guide on how to do it.
Related reading: How to divide and multiply your peace lily.
What Is a Root-Bound Peace Lily?
A root-bound peace lily is a situation that arises when the pot is filled with plant roots and there is no more room for them to expand out and adsorb the moisture and nutrients from the soil.
This will have a negative effect on your plant and it will show with leaves drooping or turning brown, and roots growing out of the soil.
Peace lilies can become root-bound when they are grown in the same pot for a couple of years, and never moved into a larger size pot.
Signs of A Root-Bound Peace Lily
There are several signs that your root-bound peace lily will give you to let you know that it is root-bound and needs some attention.
Excessive drainage. If you notice that the water runs really fast out of the pot, that could be because when the roots are so dense and tangled it doesn’t allow the remaining potting mixture to absorb and hold any water.
This can lead to the plant not getting enough water.
Brown leaf tips. When the root system is so tangled that the plant is unable to absorb water, this could result in the leaves turning brown.
Stunted growth. Root-bound peace lilies may also experience stunted growth. This is because the plant is unable to absorb enough nutrients and water to sustain itself.
Visible roots. If you see roots growing out of the top of the pot, or out of the drainage holes, this is a clear sign that there is not enough room in the pot for the plant’s roots.
How to Fix a Root-Bound Peace Lily
There are two different methods to fix a root-bound peace lily.
- Transplant the plant into a larger pot or put it outside in the ground. Or,
- Remove the excess roots and divide the plant into single shoots.
In the video above and explanation below, I use method 2.
Materials Needed
- Either a larger pot or multiple pots for the additional peace lily shoots.
- A well-draining potting mixture with fertilizer.
- Secateurs
- Fungicide (if root rot present).
Step-By-Step Guide on How to Fix a Root-Bound Peace Lily
-
Inspect Your Peace Lily
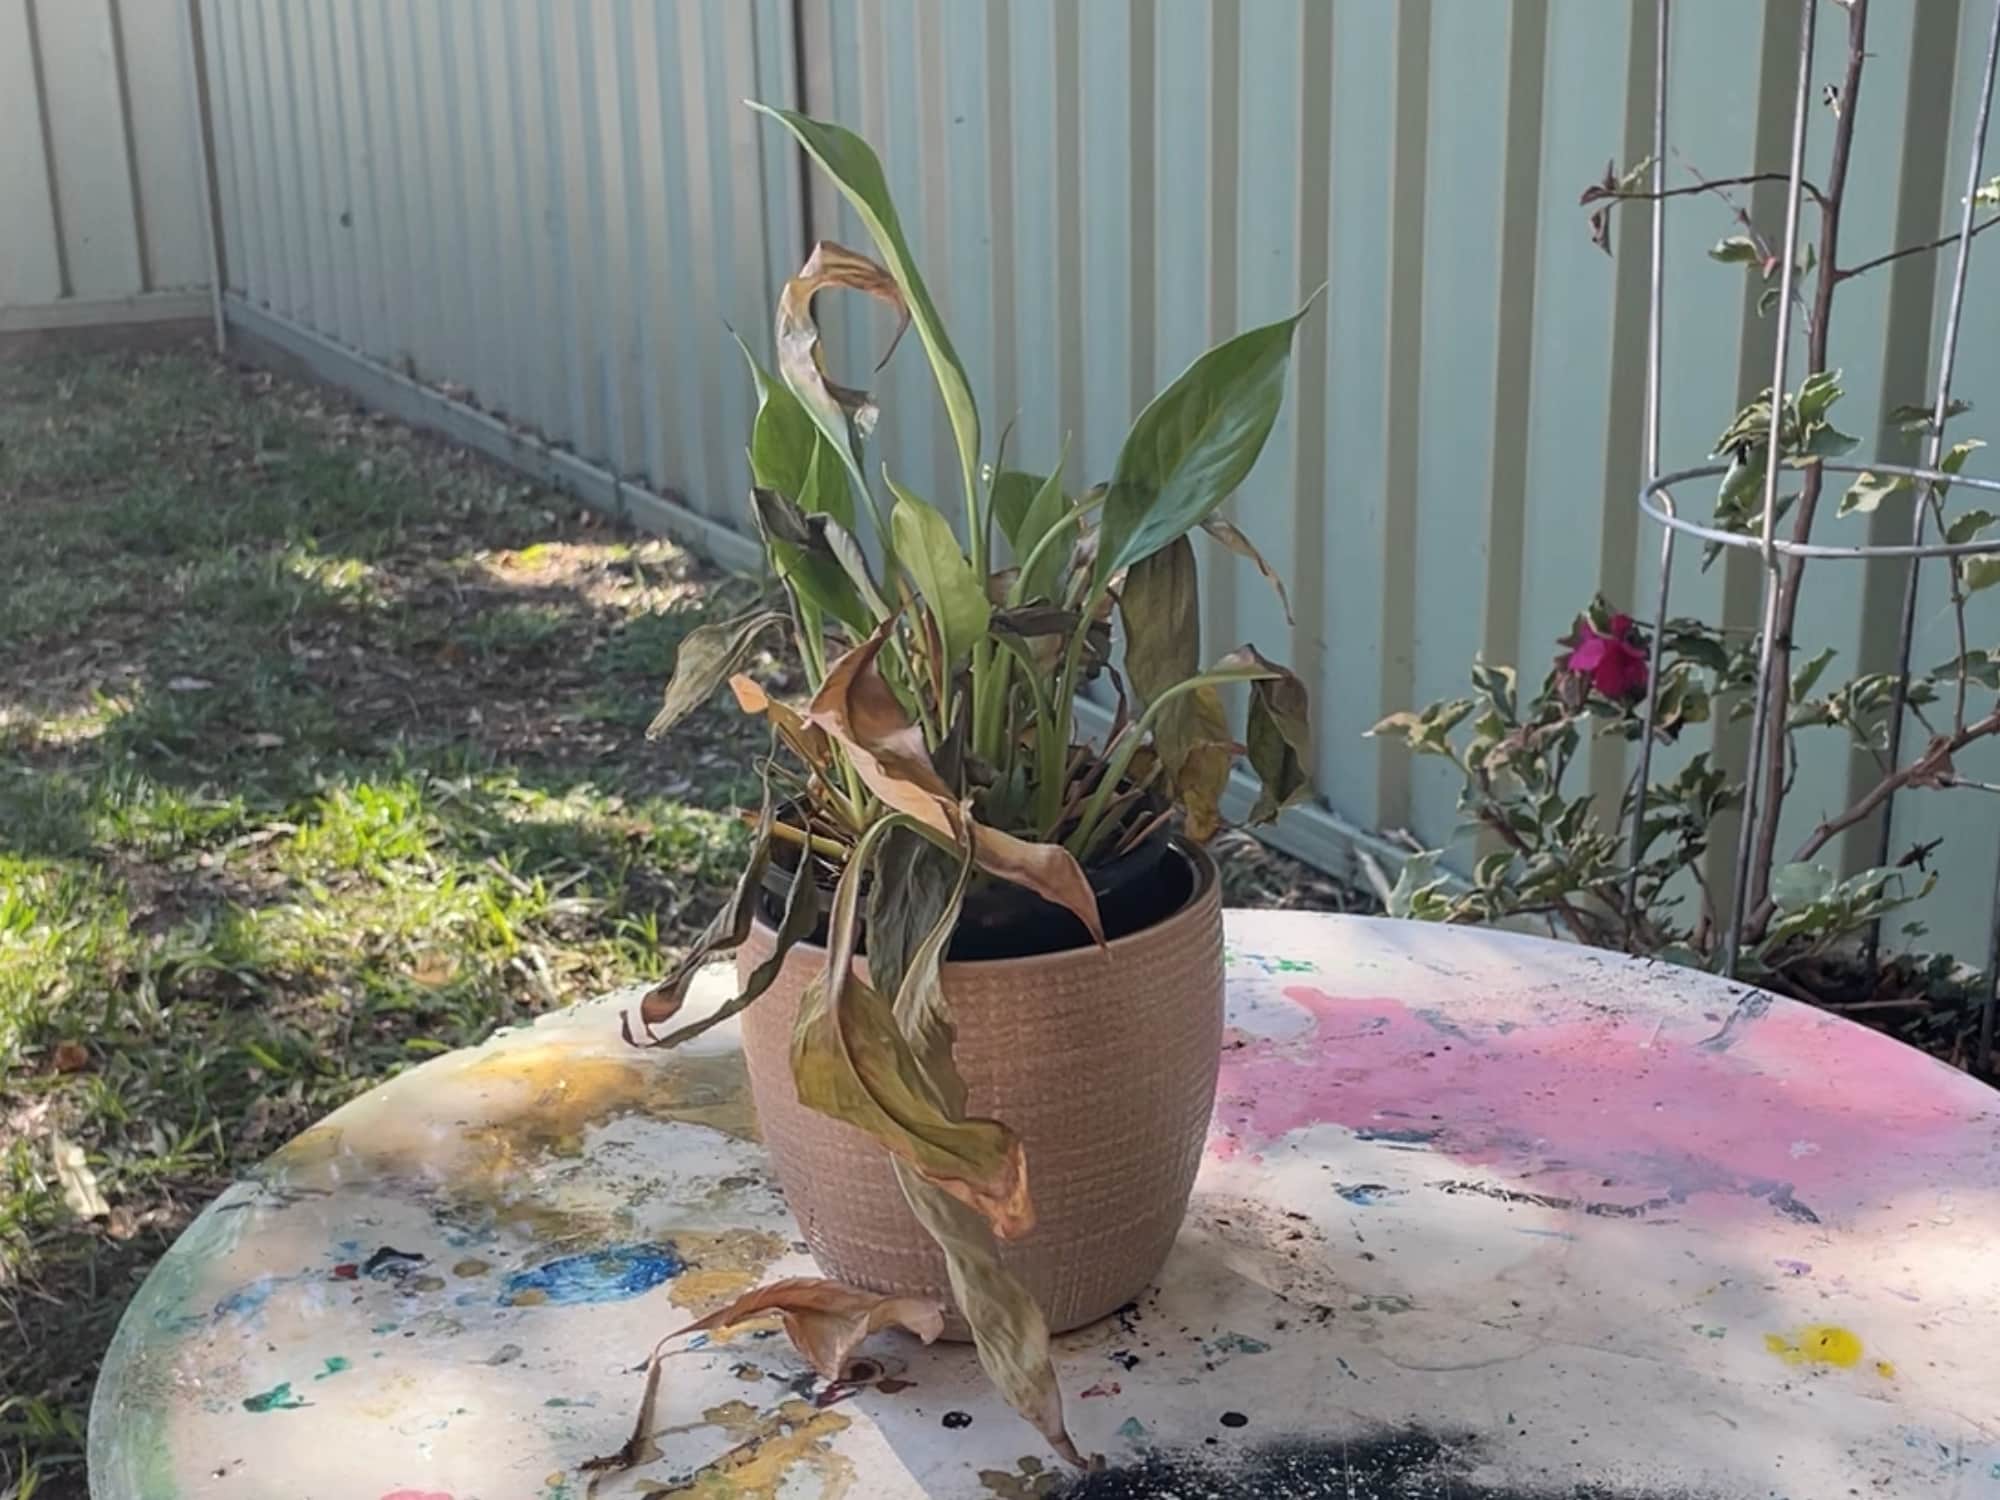
If your peace lily is struggling to survive (like mine was in the picture), there is a chance that the plant may be root-bound.
A root-bound plant is where all of the roots become a dense tangled mess, and there is no more room for the roots to grow. This can be detrimental to the plant and is like a slow strangulation of the plant.
-
Remove the Peace Lily from The Pot
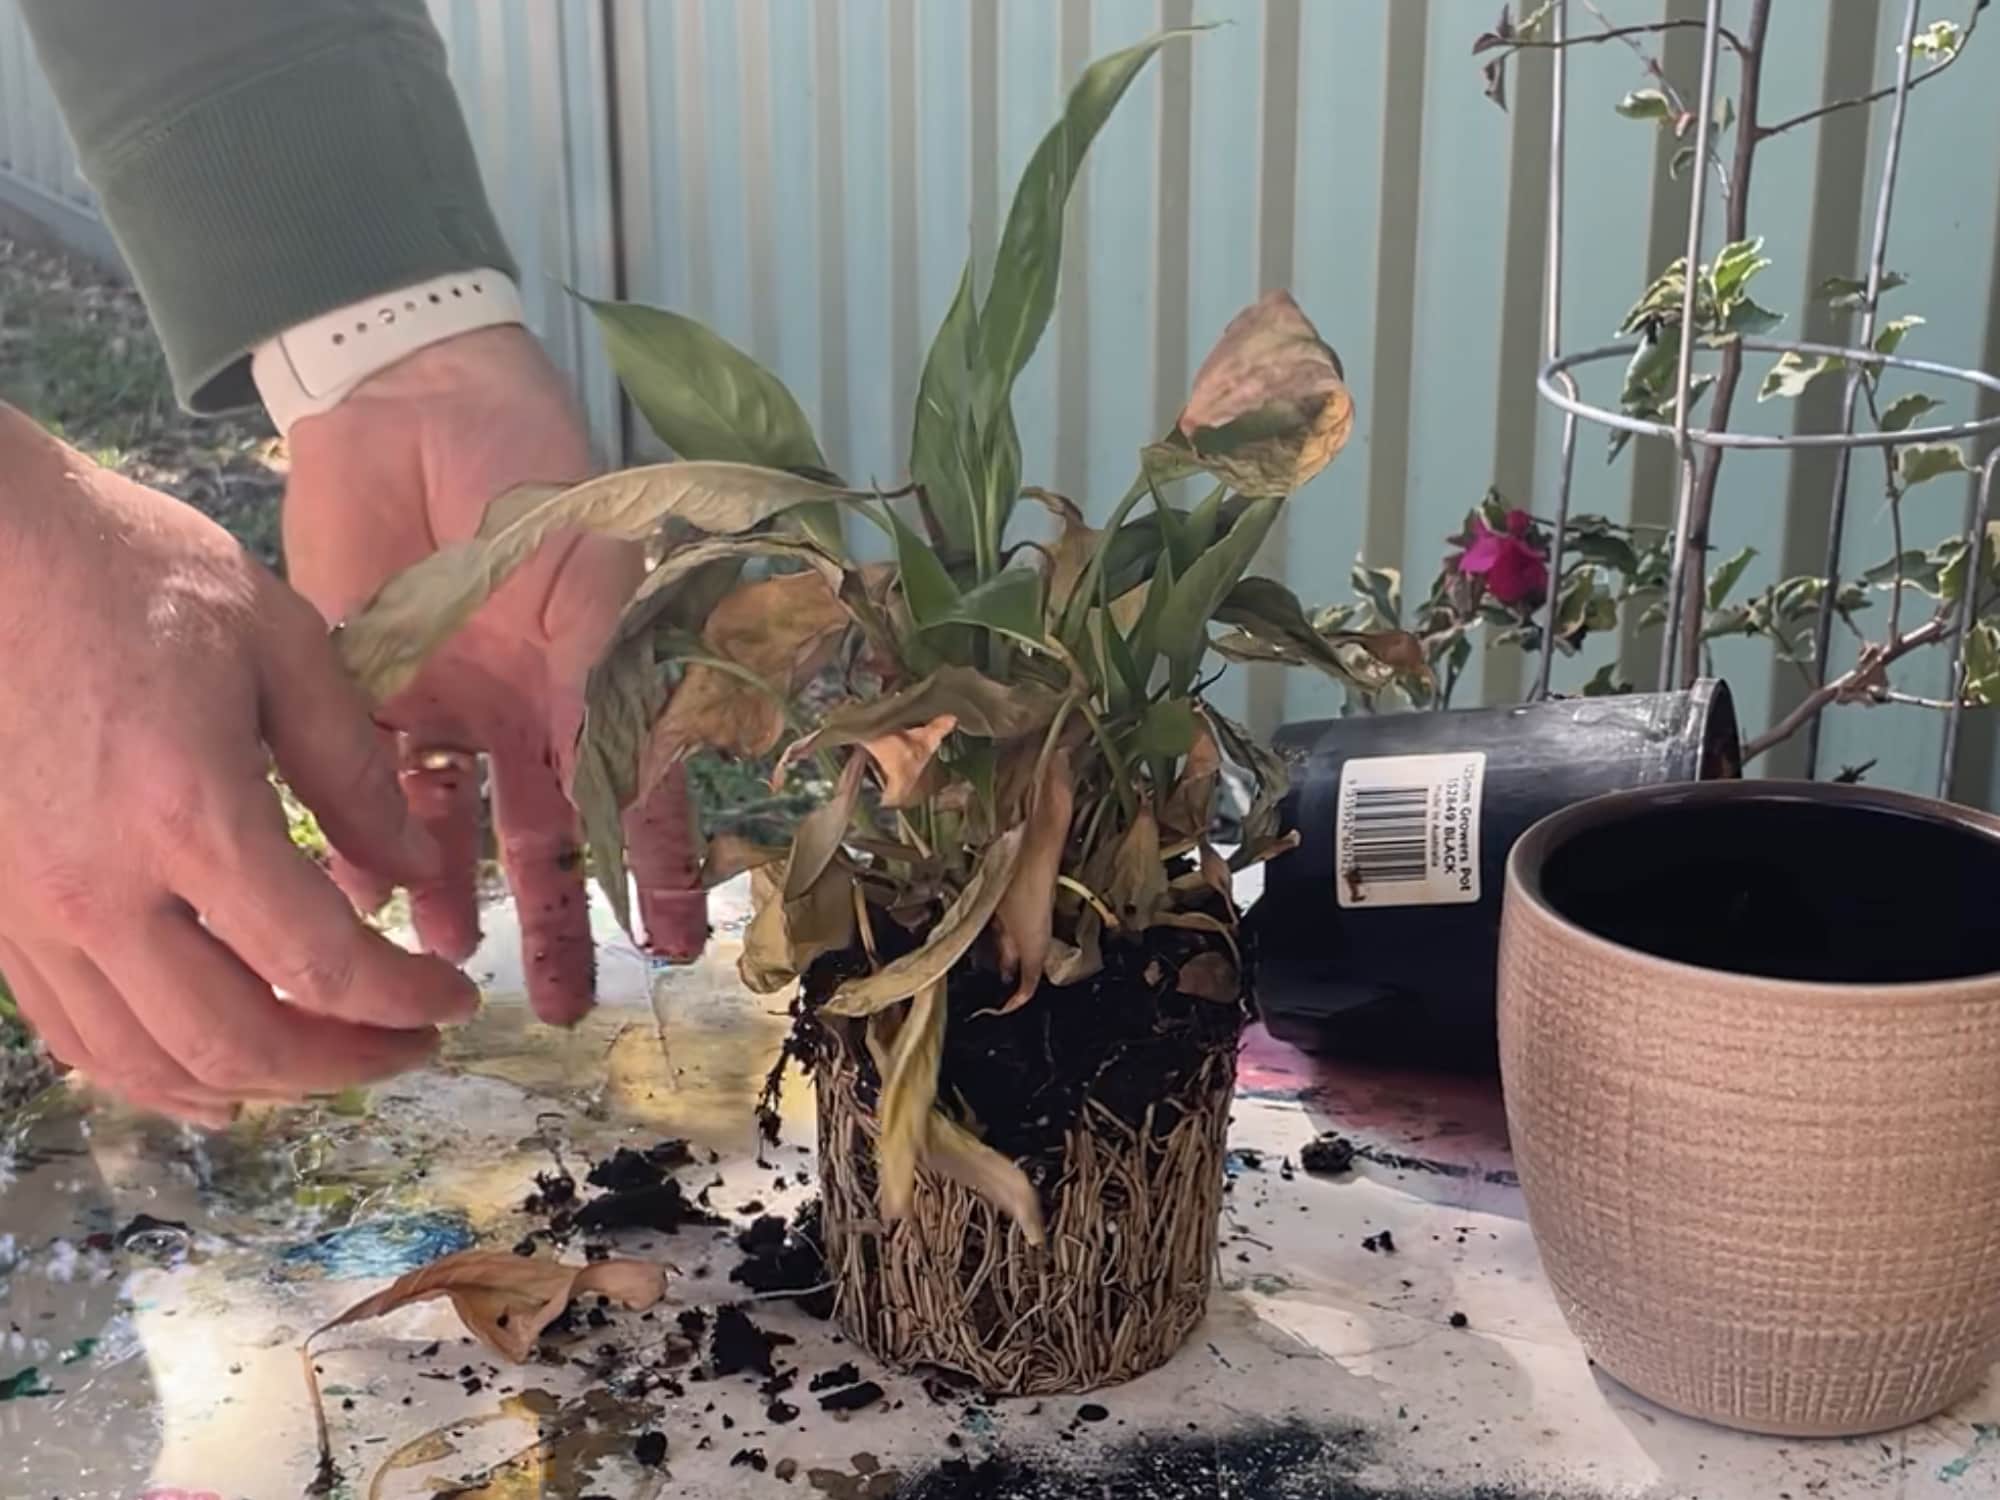
Gently remove the plant from your pot. Squeeze the sides of the pot to loosen up the plant so if comes out easier.
-
Loosen/Break up Root System
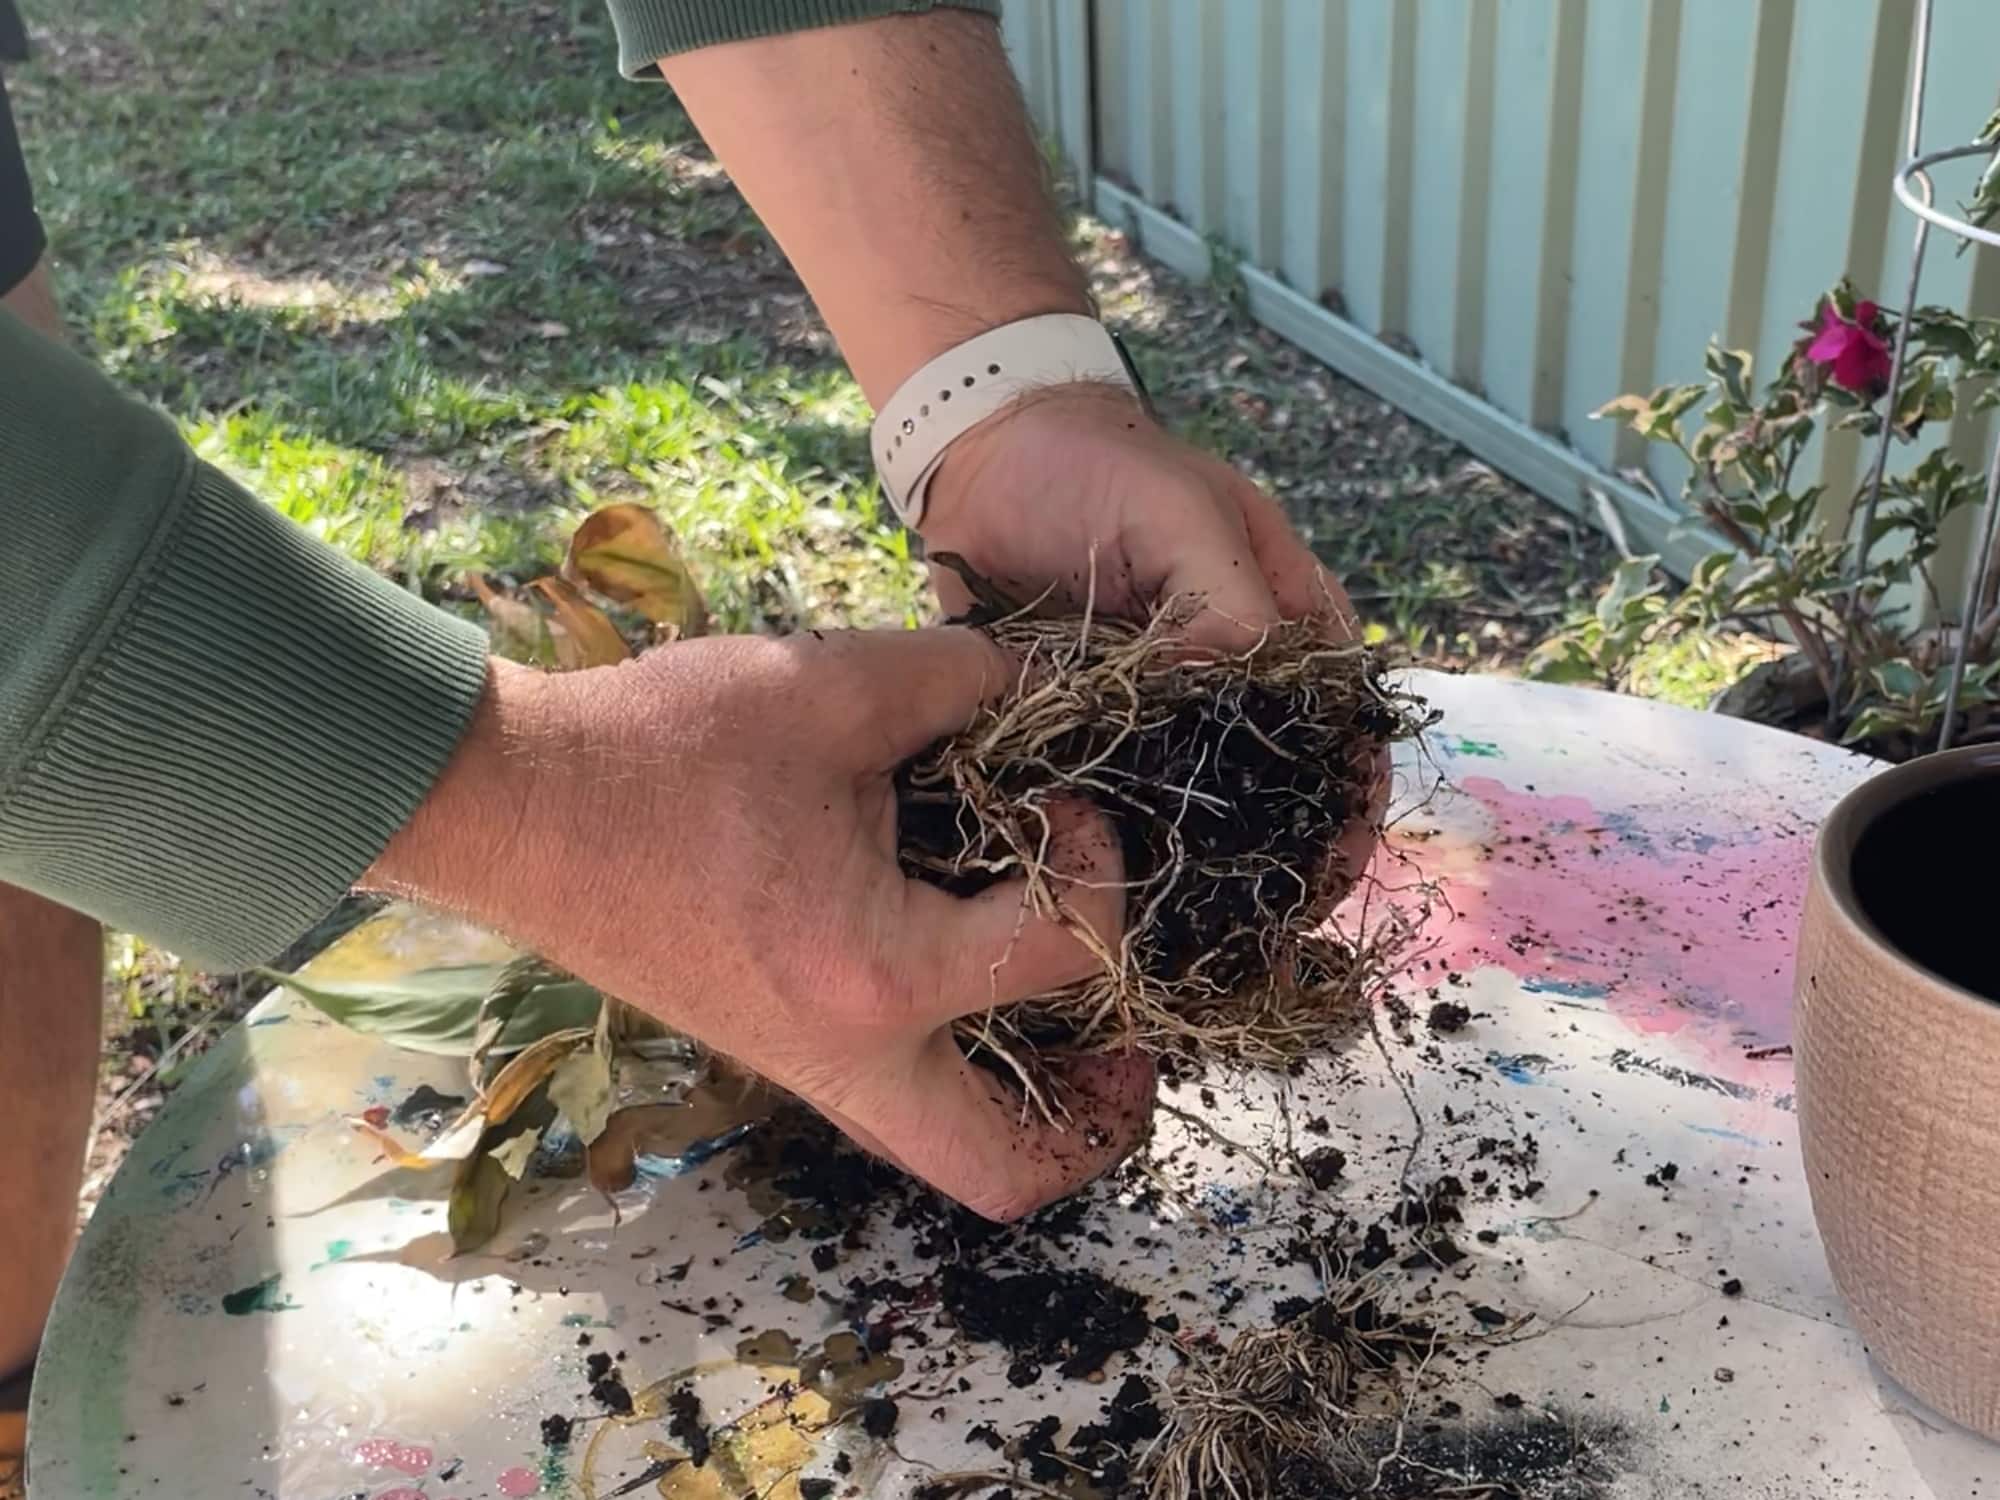
Using your fingers, you will have to squeeze and rip apart the roots of the place lily. This can be difficult if the roots are very tangled.
Do not be afraid of using too much force to pull the roots apart. As long as the stems of the plant aren’t being damaged then there isn’t any harm you can do here.
-
Separate Peace Lily Shoots
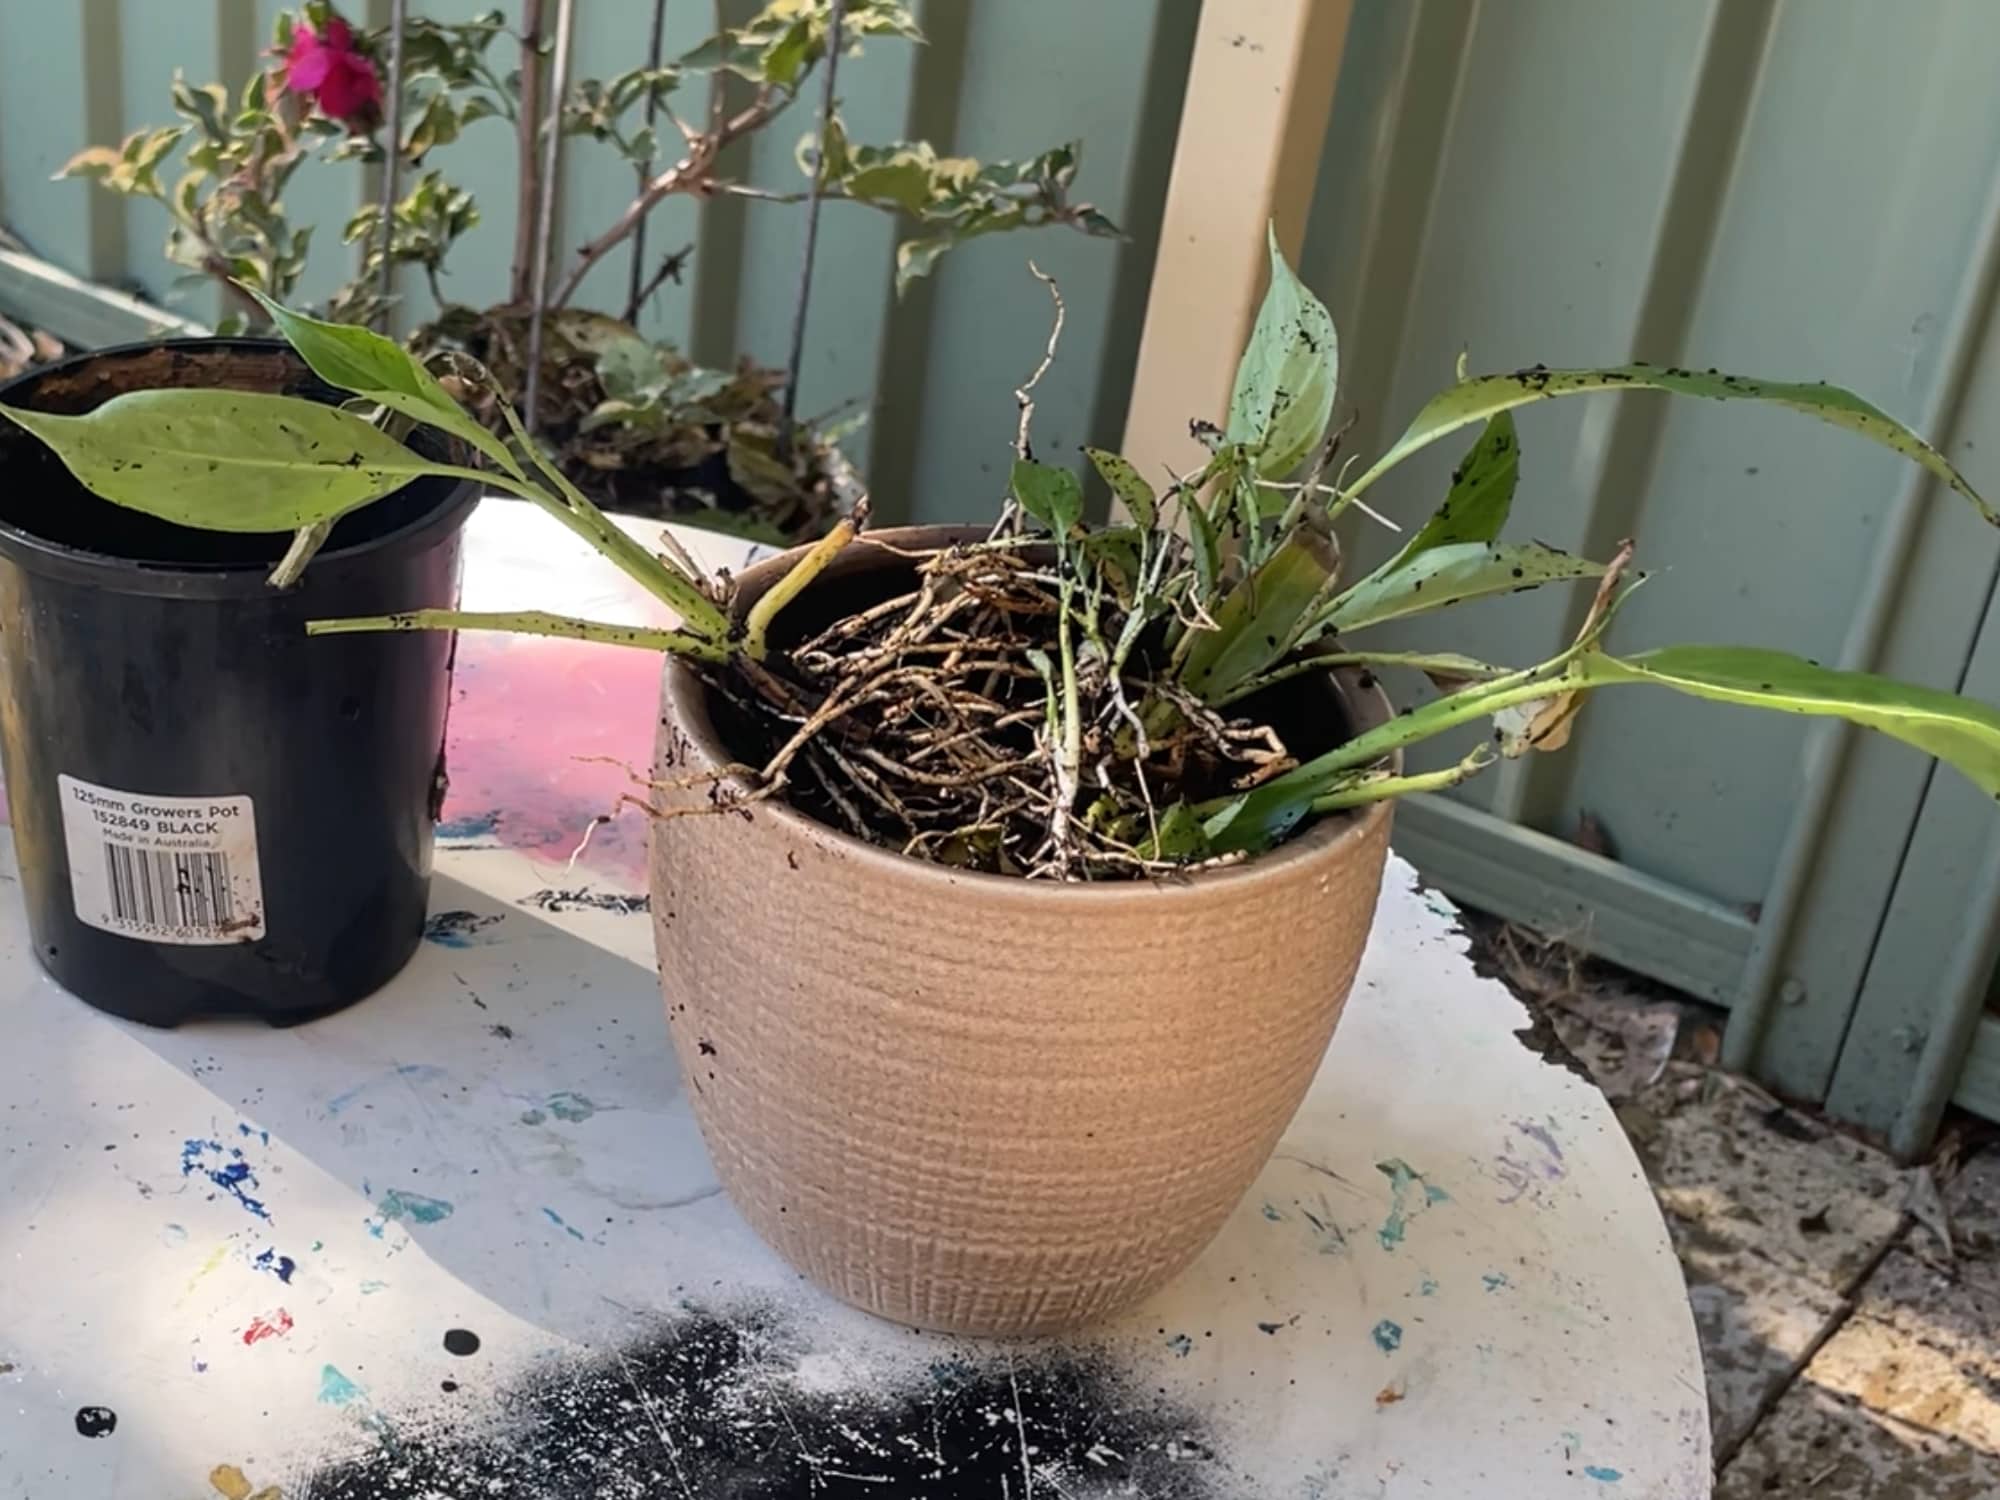
Separate the individual peace lily shoots once the root system has been detangled.
-
Replant Separate Peace Lily Shoots
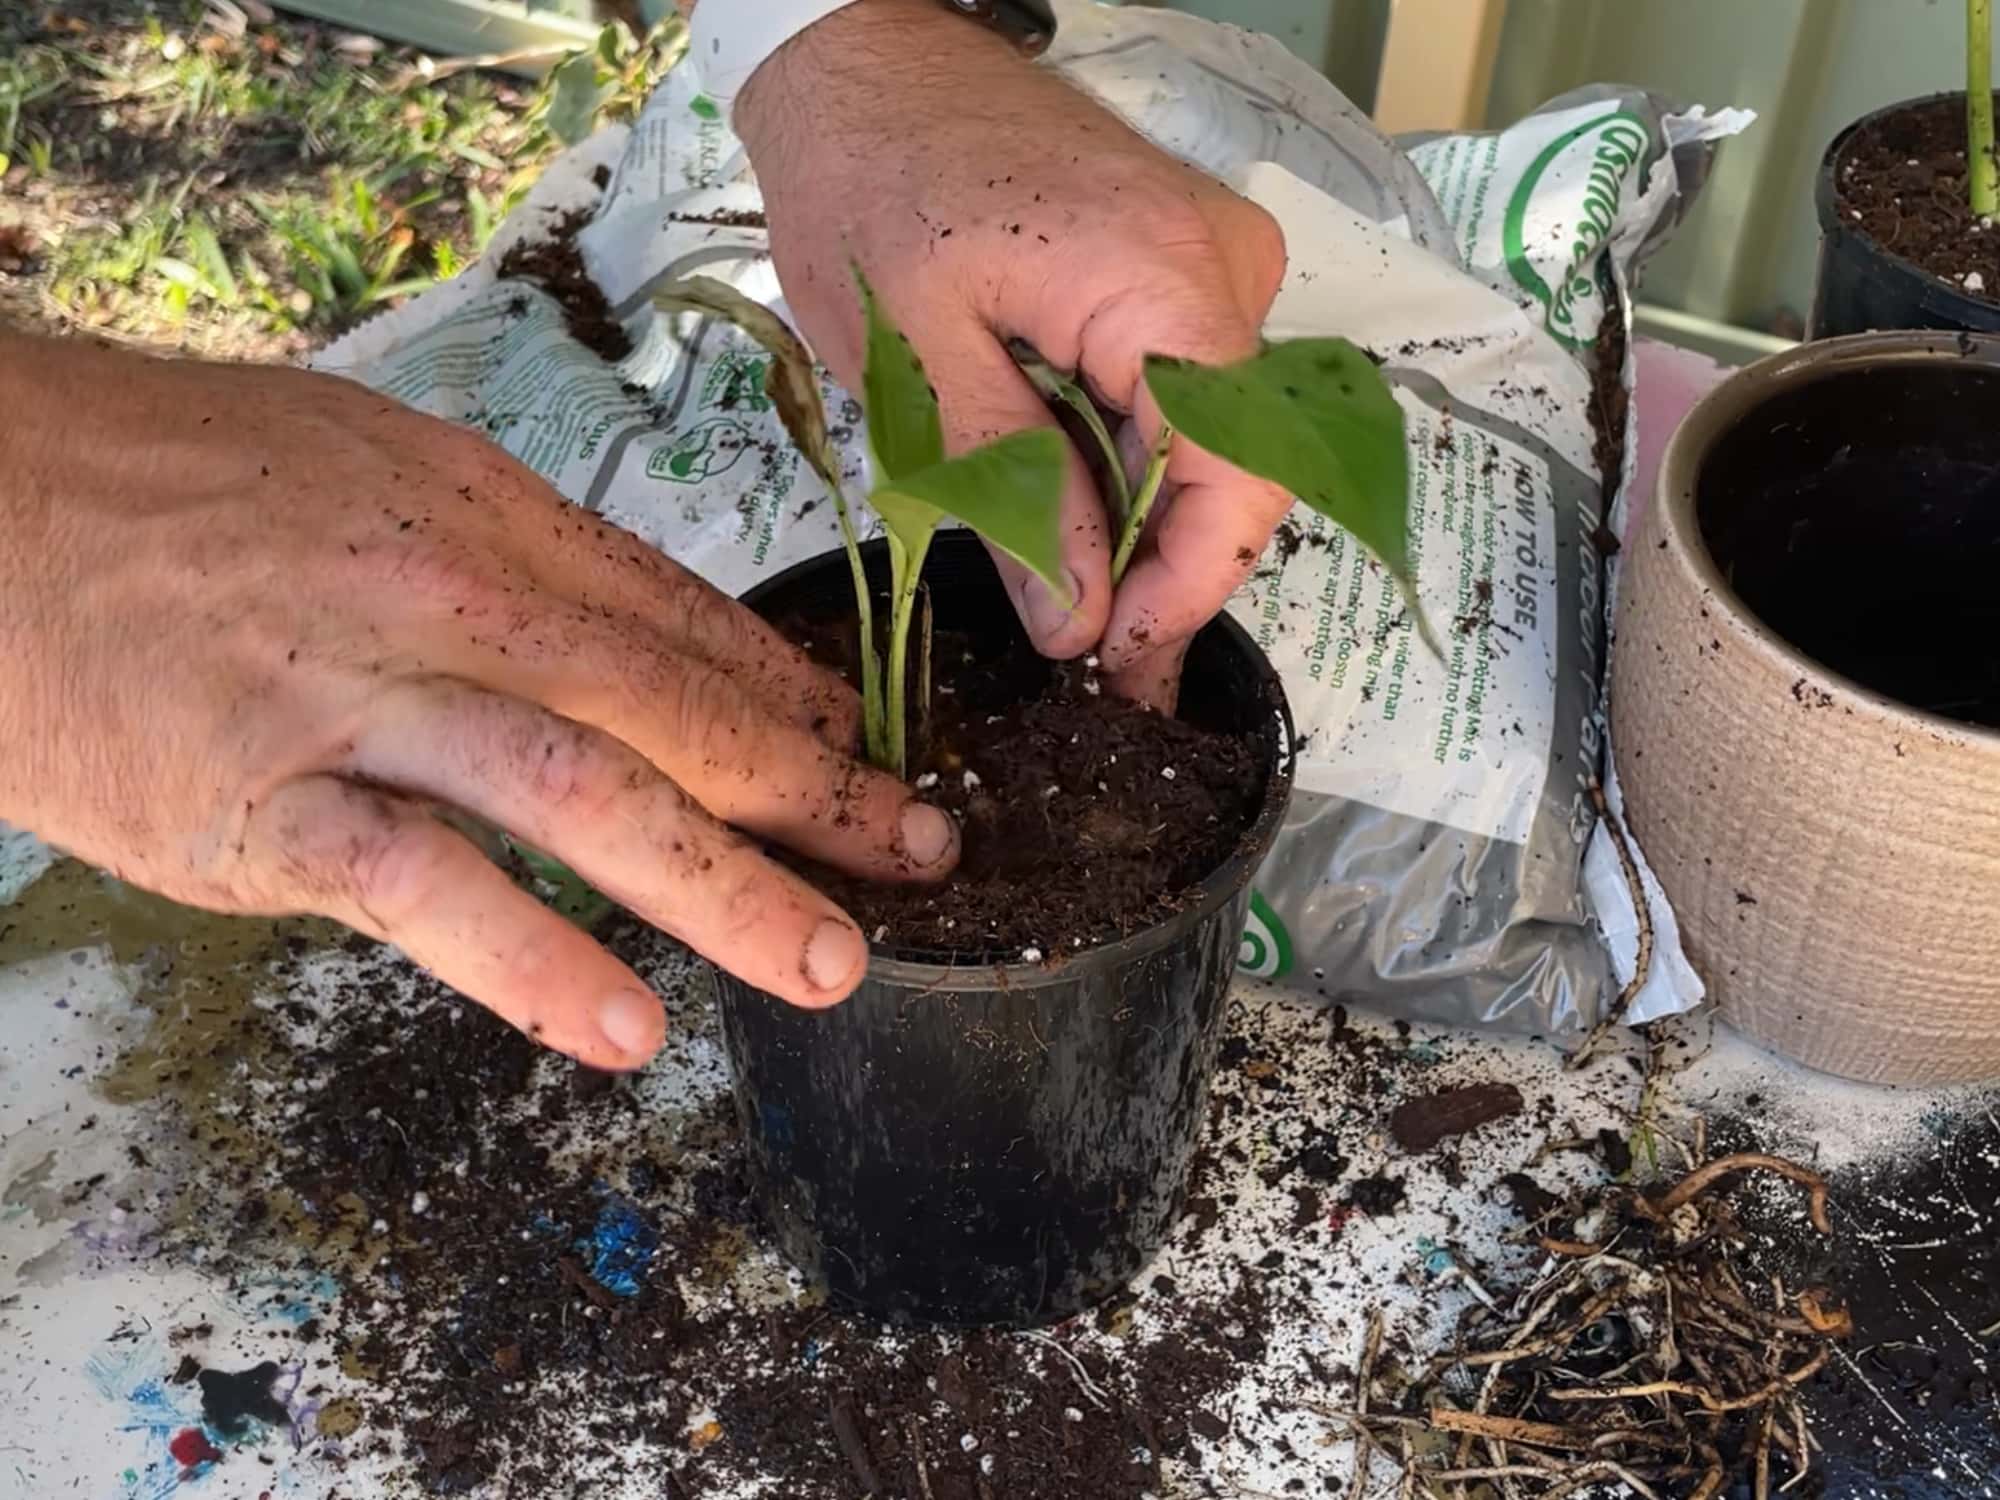
Fill a grow pot up with a well-draining potting mixture, and plant one or two of the peace lily shoots into it.
Do not overcrowd the pot with too many shoots, leaving enough room for future growth.
-
Water Peace Lily Regularly Until Established
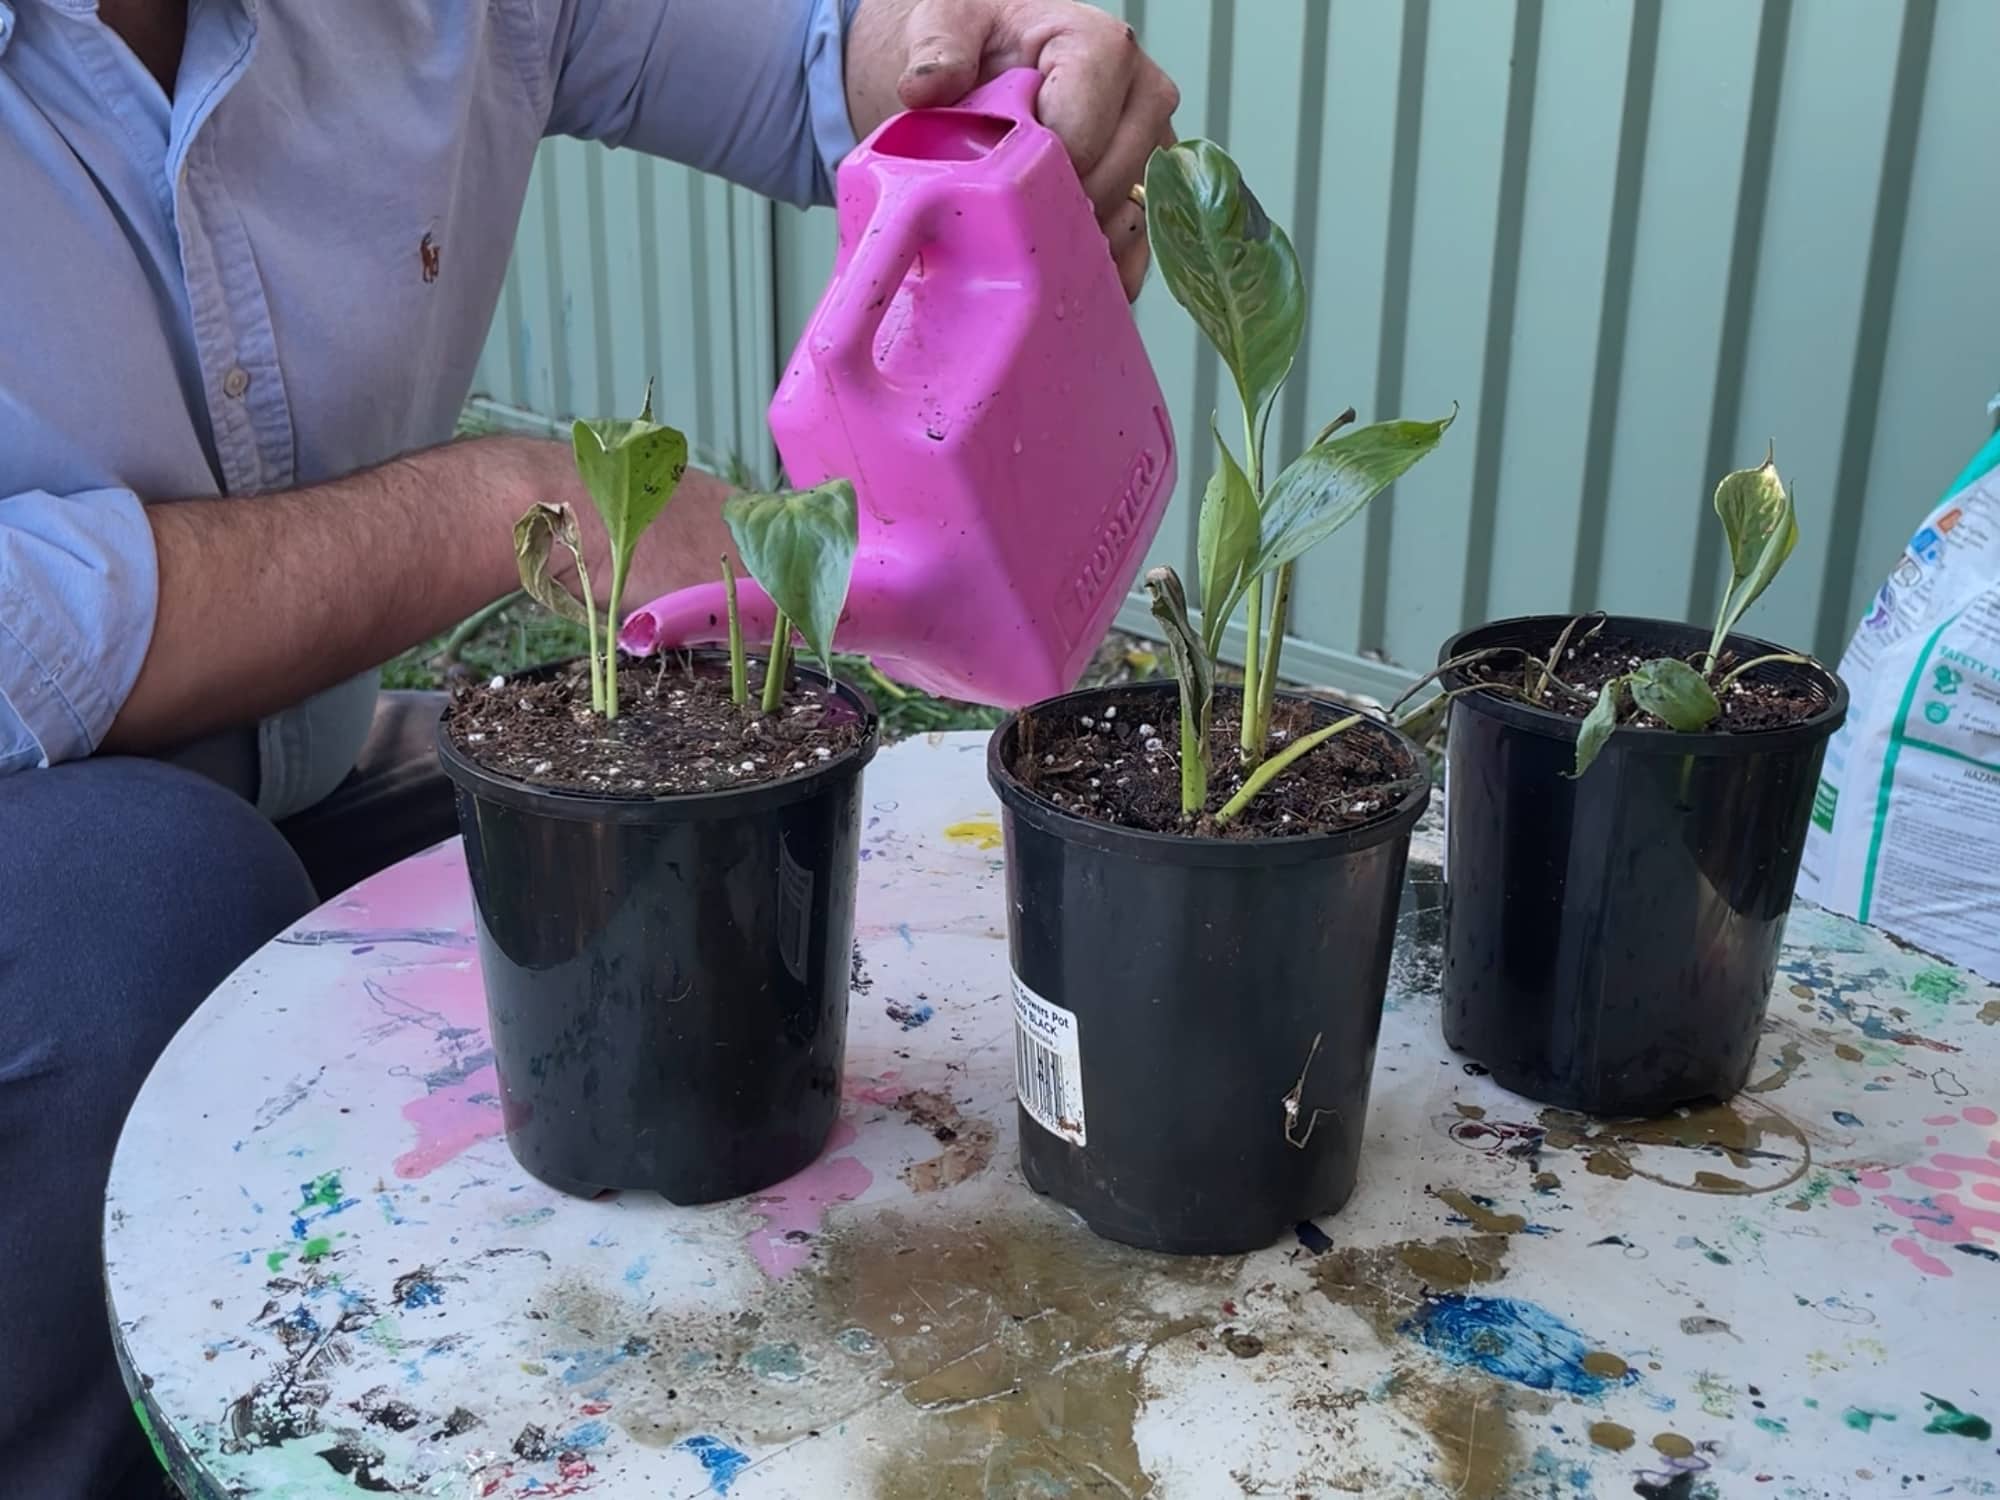
Water the peace lily shoots when the soil drys out. Place the new plants somewhere they will receive indirect sunlight.
Supply:
- Well draining potting mixture
- Fungicide (if root rot present)
Tools:
- Secateurs
Materials: A larger pot or numerous pots for the peace lily shoots
By following the above steps you will have saved and rehabilitated your root-bound peace lily, just like I did for mine.
Aftercare of Peace Lily
Watering. Water your peace lily when the top 1 to 2 inches of soil has dried out. You can test this by sticking your finger into the potting mixture and if any dirt sticks to your finger, then it is still probably moist enough for the plant.
Fertilizer. Although peace lilies do not need to be fertilized regularly, they do like the occasional feed. This will help encourage flower growth.
During the growing season, you can fertilize these plants monthly.
Pruning. To keep your peace lily looking great, you can trim off any dead or dying leaves from the base of the plant. This will help focus the plant’s energy on its healthy shoots.
Lighting. Ideally, these plants will be placed somewhere they get a lot of bright indirect light. Although they can handle direct light and low light areas.
What Is the Best Method for Dividing a Peace Lily?
To drive a peace lily you (1) need to break up the root ball. (2) You can then divide each of the shoots of the plant, and once done you can then (3) plant each shoot into its own pot, (4) given it a good watering afterward to help it establish itself.
Which Soil Is Ideal for Repotting a Peace Lily?
The best type of potting mixture is a well-draining medium that contains a blend of peat moss or coco coir, perlite, and compost or aged bark. This is so that excess water is allowed to drain away, but some moisture is retained for the plant.

