Crotons are a popular indoor and outdoor plant. Like where they originate from (Ambon Island in Indonesia), crotons enjoy warmer climates and don’t like to be exposed to frost.
Growing a croton plant from a cutting is very easy to do. Follow the steps in my guide below to duplicate your own croton plant for free.
Important:
- For best results use a croton cutting that is as thick as a pencil and at least 7 centimetres (3 inches) to 15 centimetres (6 inches) long.
- Have a place ready for them to sit that is out of direct sunlight, and not too hot or cold.
- If you have croton seeds you can also germinate them to grow new croton plants using my guide here.
Steps to Propagate Croton Cutting
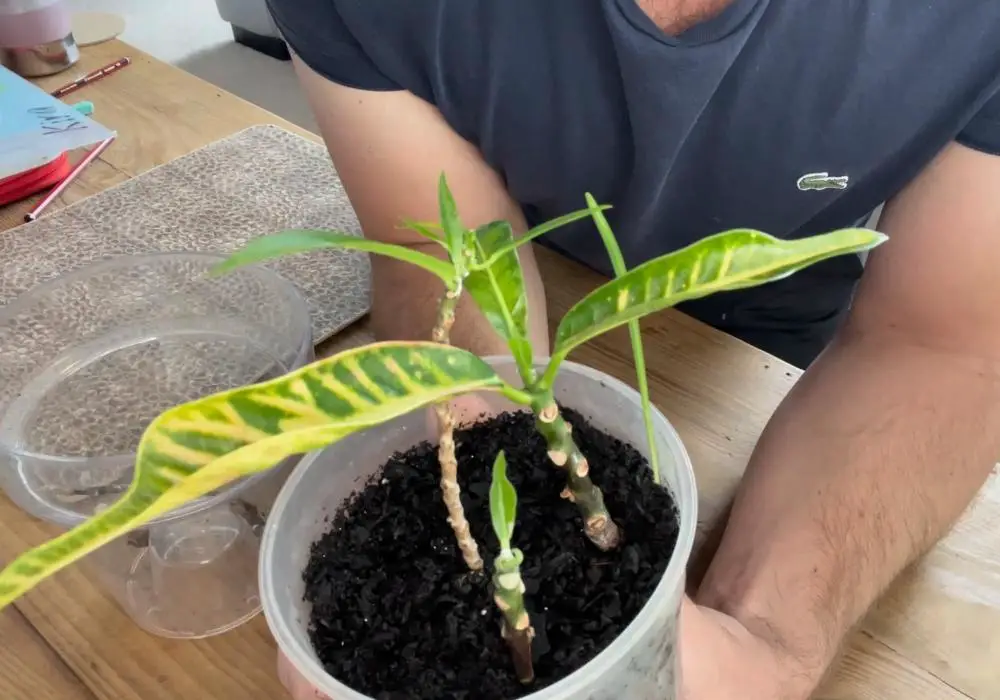
How to propagate croton plant from cutting
Approximate time to root 28 days
-
Prepare your workspace

Before you start, get your tools and materials prepared and in order. This includes:
(1) Croton cuttings
(2) Grow pot & potting mix
(3) Rooting hormone powder
(4) Utility knife -
Prepare your croton cuttings
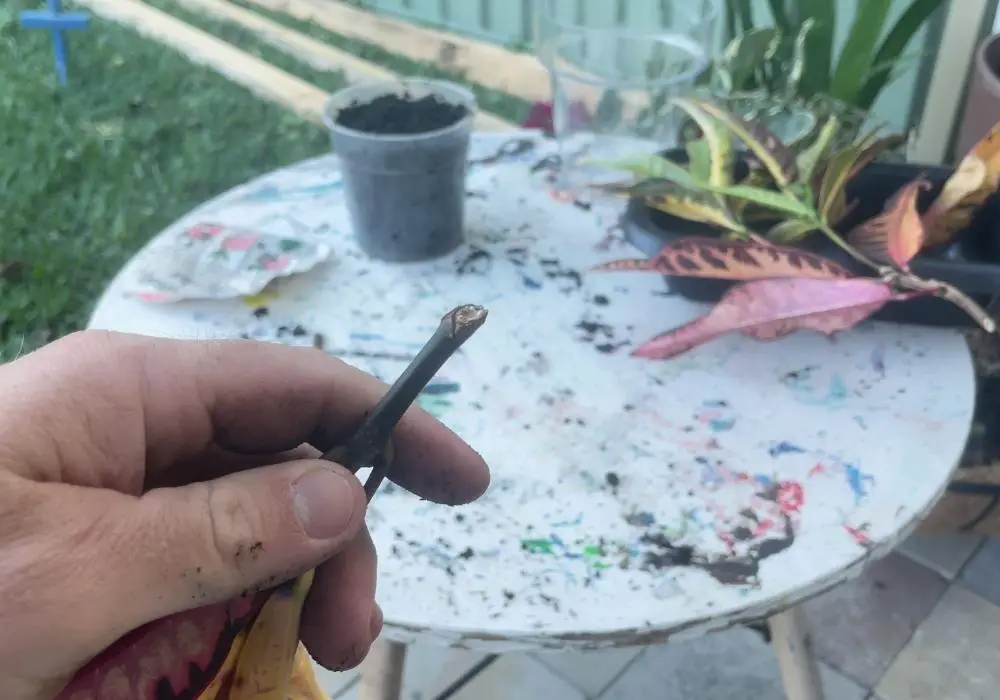
Before attempting to propagate a croton cutting you first need to prepare it.
After taking a cutting from a tree let the cutting sit for 1-2 days. This will allow the end of the cutting to dry out and reduce the chance of it rotting.
-
Remove excess leaves from croton cuttings
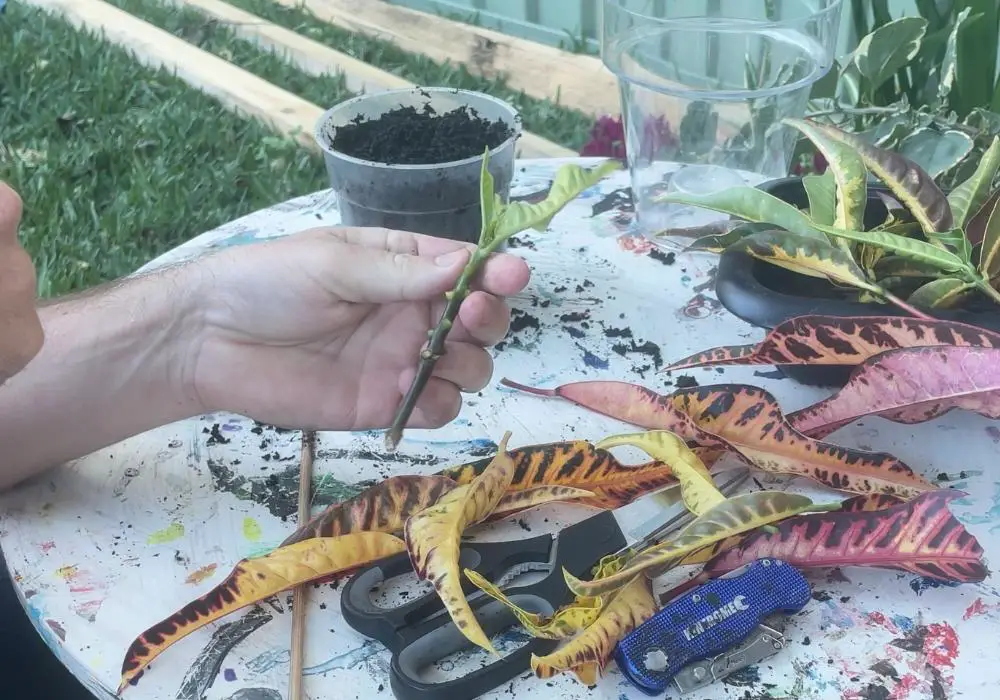
Remove all of the excess leaves from the cutting. This will help the cutting last longer as there are fewer leaves to support. I suggest you leave only 2-3 healthy leaves on the cutting.
It is best you do this after taking the cutting from the croton plant, this will help the branch preserve itself.
-
Strip bark off the lower end of croton cuttings

Before applying the rooting hormone it is a good idea to strip the bark of the lower end of the cutting. You don’t need to cut deep into the branch, you are just scraping the outer bark off.
-
Dip end of croton cutting into rooting hormone
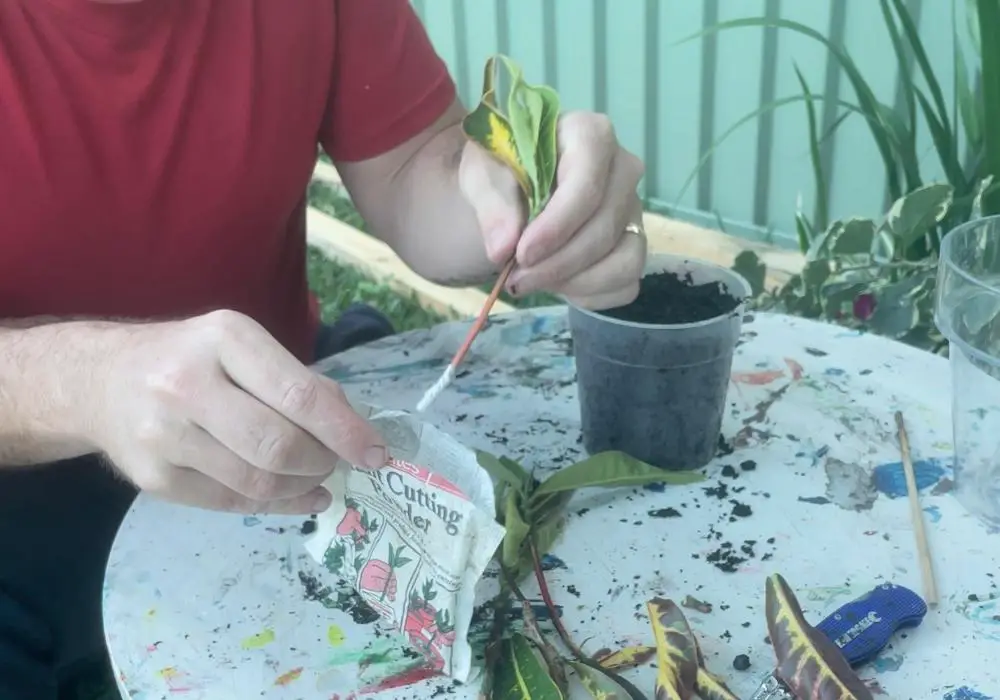
Dip the stripped end of the cutting into rooting powder. Give a little twirl when dipped to make sure that there is good coverage of rooting hormone around the end of the cutting.
-
Insert the end of the croton cuttings into the potting mix

Insert the end of the cutting around 3-5 centimetres (1-1.5 inches) into the potting mix.
Once done make sure you firm up the potting mix around the cuttings.
-
Water the croton cuttings

Give the cuttings a good watering. Then place them somewhere that they will receive indirect sunlight for most of the day and 1-2 hours of direct sunlight.
Don’t move the croton cuttings until they start to grow roots. Once they do start to grow roots they will be able to handle more sunlight and heat as they can sustain themselves better.
-
Croton cutting progress (11 weeks)
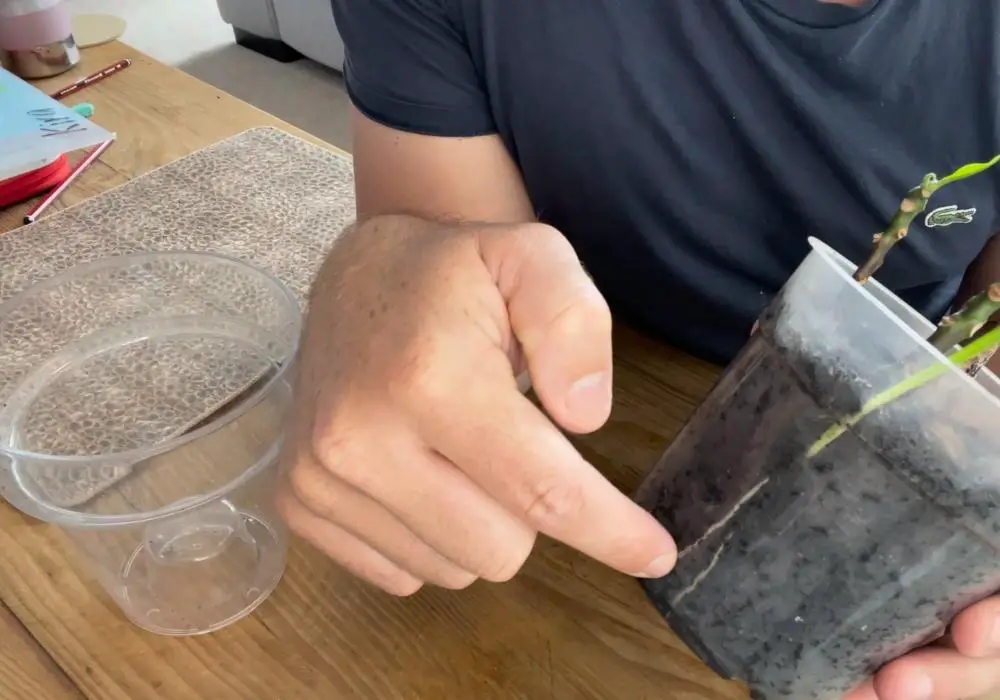
The photo above shows the progress of the croton cutting after 11 weeks (77 days). One of the five cuttings managed to grow another offshoot. Another 2 of the 5 cuttings started to grow roots. Two of the cuttings died (probably because of the mealybugs I found on them).
-
Croton plant ongoing care
Once you have your crotons growing you can’t stop there, you will need to take care of the plant and feed it to make sure it grows lots of colourful leaves.
Make sure you fertilise your croton at least twice a year. Once before their growing season in Spring, and then again during their growing period in Summer.
Tools:
- Utility knife/scissors
- Grow pot
Materials: "Seedling" potting mix Rooting hormone powder
Final Thoughts
I hope this guide was helpful to you and you have success in propagating your croton cuttings as I did. Happy gardening.
FAQs
How long do croton cuttings take to root?
Cronton cuttings take approximately 3-4 weeks to grow roots in the soil.
Can croton cuttings grow roots in water?
Yes, simply place your cutting into a container with water and watch the roots grow in several weeks.
Can croton cuttings grow roots in soil?
Yes, they absolutely can. Just follow the guide above for my explanation of how I do it.
Are croton plants toxic?
The white sap that comes out of a croton cutting can be toxic. It is recommended that you wear gloves when getting your cutting to prevent any white sap from getting onto your skin.

